Key Takeaways
- Magnetic mounts let wall tablets become portable dashboards without losing charging capability
- ESPHome turns ESP32 devices into full-duplex wireless intercoms integrated with Home Assistant
- ESP32 microcontrollers can automate basic standing desks without buying expensive smart models
Home Assistant users spend most of their time writing automations and tweaking YAML files. But sometimes the best upgrades come from building hardware, not software. How-To Geek's Adam Davidson laid out three hardware projects that can be finished in a weekend, each solving a real annoyance that pure automation can't fix.
The projects range in complexity from a 30-minute magnet job to a full ESPHome build. All three assume you already have Home Assistant running. If you're still stuck on cloud-dependent platforms, these won't help you much.
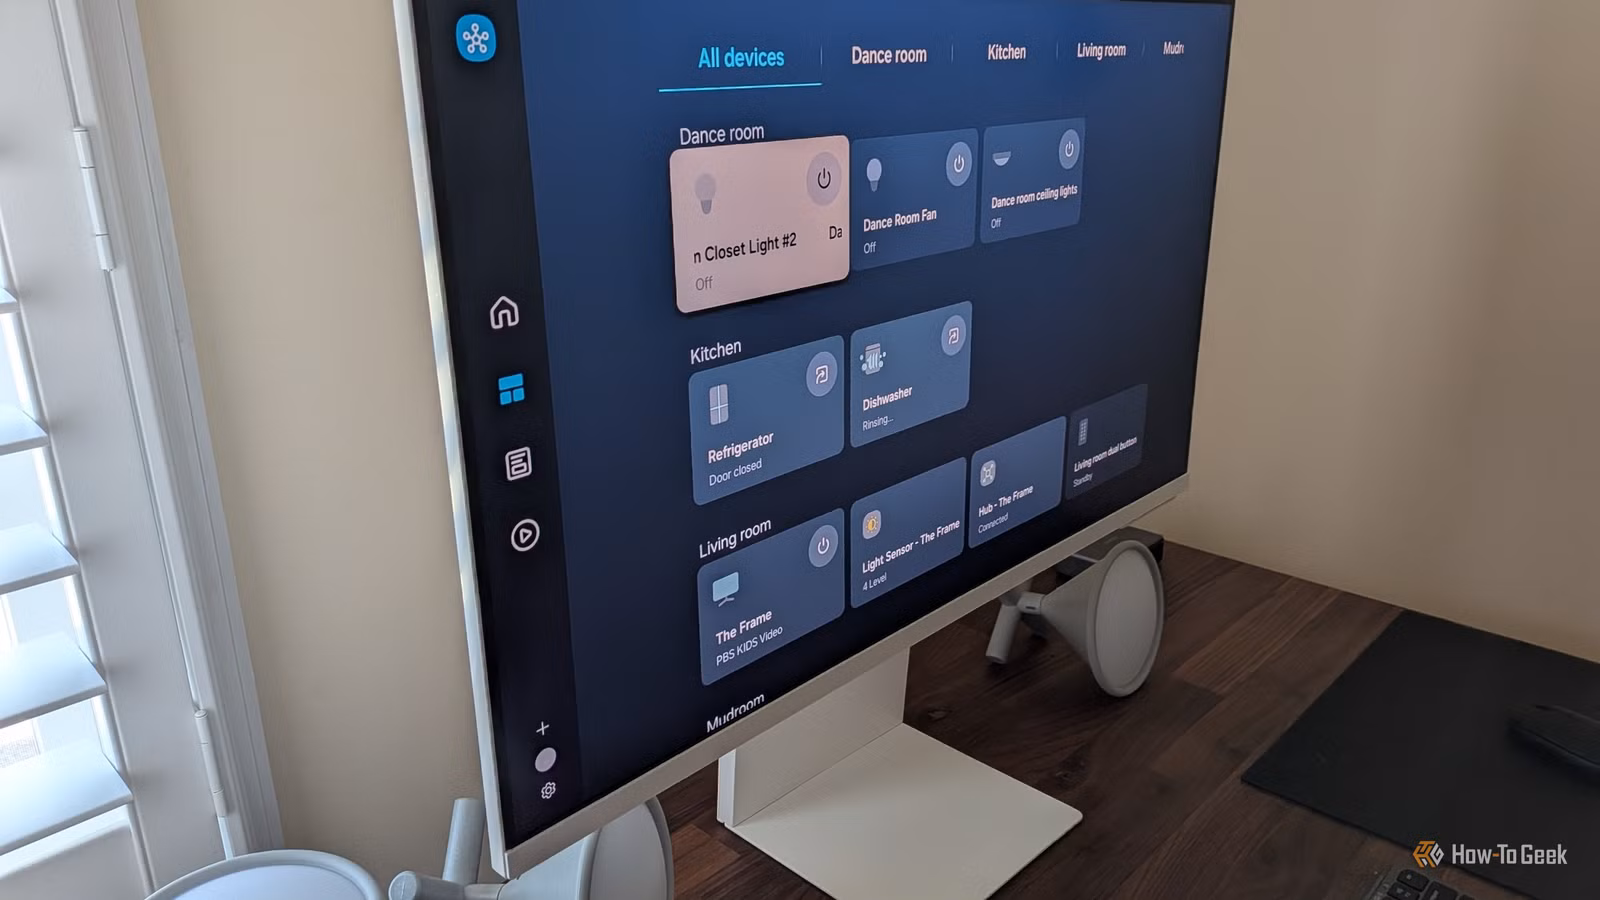
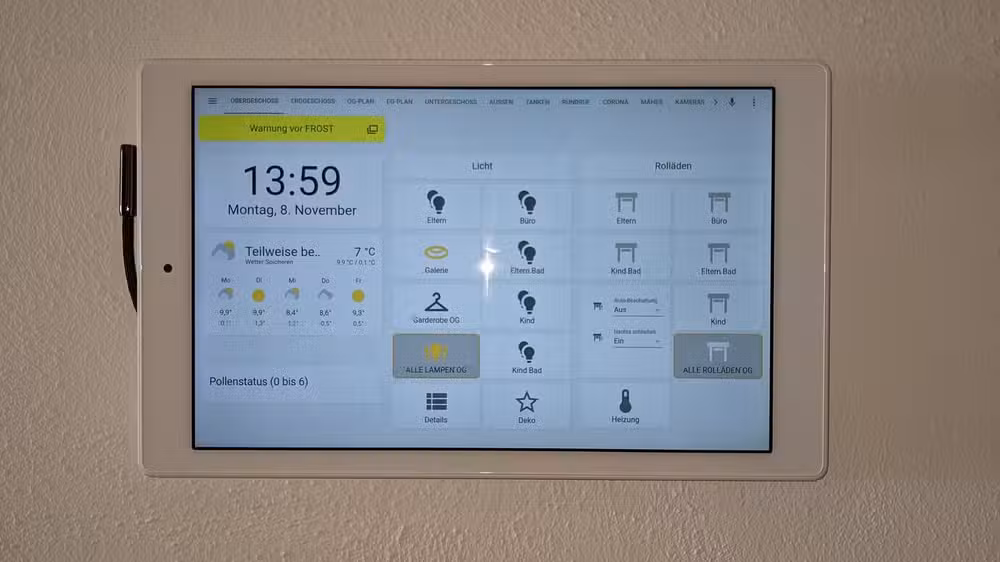
Why magnetic tablet mounts solve the dashboard problem
Wall-mounted tablets look great in smart home tours. In practice, they're annoying. You're never standing next to the dashboard when you need it. Walk to the tablet, tap the screen, walk back. Do that ten times a day and the charm wears off.
The alternative, a loose tablet, creates its own problems. Batteries die. Tablets slide behind couch cushions. You end up yelling "where's the iPad?" more than you actually use the thing.
Davidson's fix is magnets. Mount a charging plate on the wall. Attach magnets to the tablet's case. The tablet charges when mounted, but lifts off instantly when you need to carry it to another room. It's the obvious solution, but most people don't think to build it.
The Google Pixel Tablet works well here because it already has a speaker dock designed for this kind of use. At $499, it's not cheap, but it's purpose-built for the grab-and-go workflow.
Building a home intercom with ESPHome and ESP32
Before smart speakers, people solved the "yelling across the house" problem with wired intercoms. Davidson's father ran intercom wire across three floors in the 1990s, pinning it along floor edges to keep it hidden. It worked. It was also a pain to install.
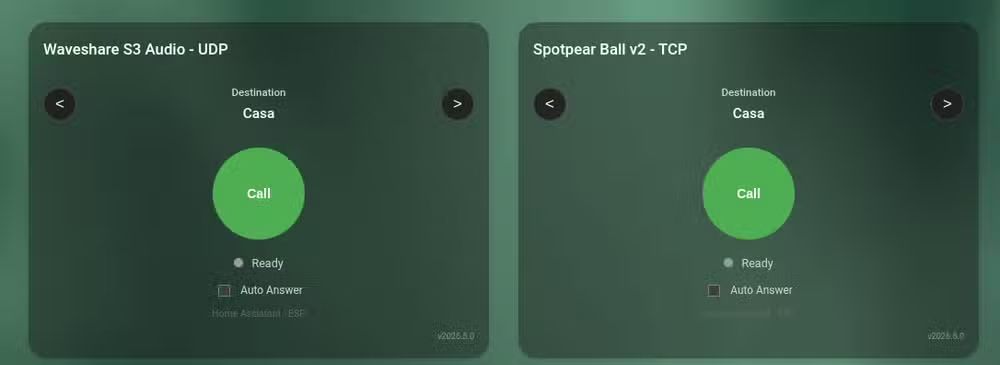
ESP32 microcontrollers and ESPHome eliminate the wiring entirely. Flash a few ESP32 devices with ESPHome firmware, add audio hardware, and you have a full-duplex intercom system. Full-duplex matters: you can talk and listen simultaneously, unlike old push-to-talk intercoms.
Home Assistant routes the audio between devices. Lovelace cards let you call specific rooms directly from your dashboard. If you've already built ESP32 voice assistants for Home Assistant, those same devices can double as intercom endpoints.
The GitHub project from n-IA-hane provides the starting code. Expect to spend a few hours on configuration, but the result is a private, local intercom system that doesn't send your audio through Amazon or Google servers.
Automating a standing desk without buying a smart model
Smart standing desks exist. They're expensive. Budget standing desks have manual controls that require you to hold a button while the desk moves. Neither option integrates well with Home Assistant automations.
An ESP32 can bridge that gap. By wiring into the desk's control board, you can trigger height adjustments through Home Assistant automations. Set the desk to rise every 90 minutes. Lower it when your calendar shows a video call. Tie it to your morning routine so it's ready when you sit down.
This project requires more hardware skill than the others. You'll need to identify the control signals on your specific desk model and wire the ESP32 accordingly. The payoff is genuine health benefits: standing desks reduce the risks of prolonged sitting, but only if you actually use them.
What you'll need for all three projects
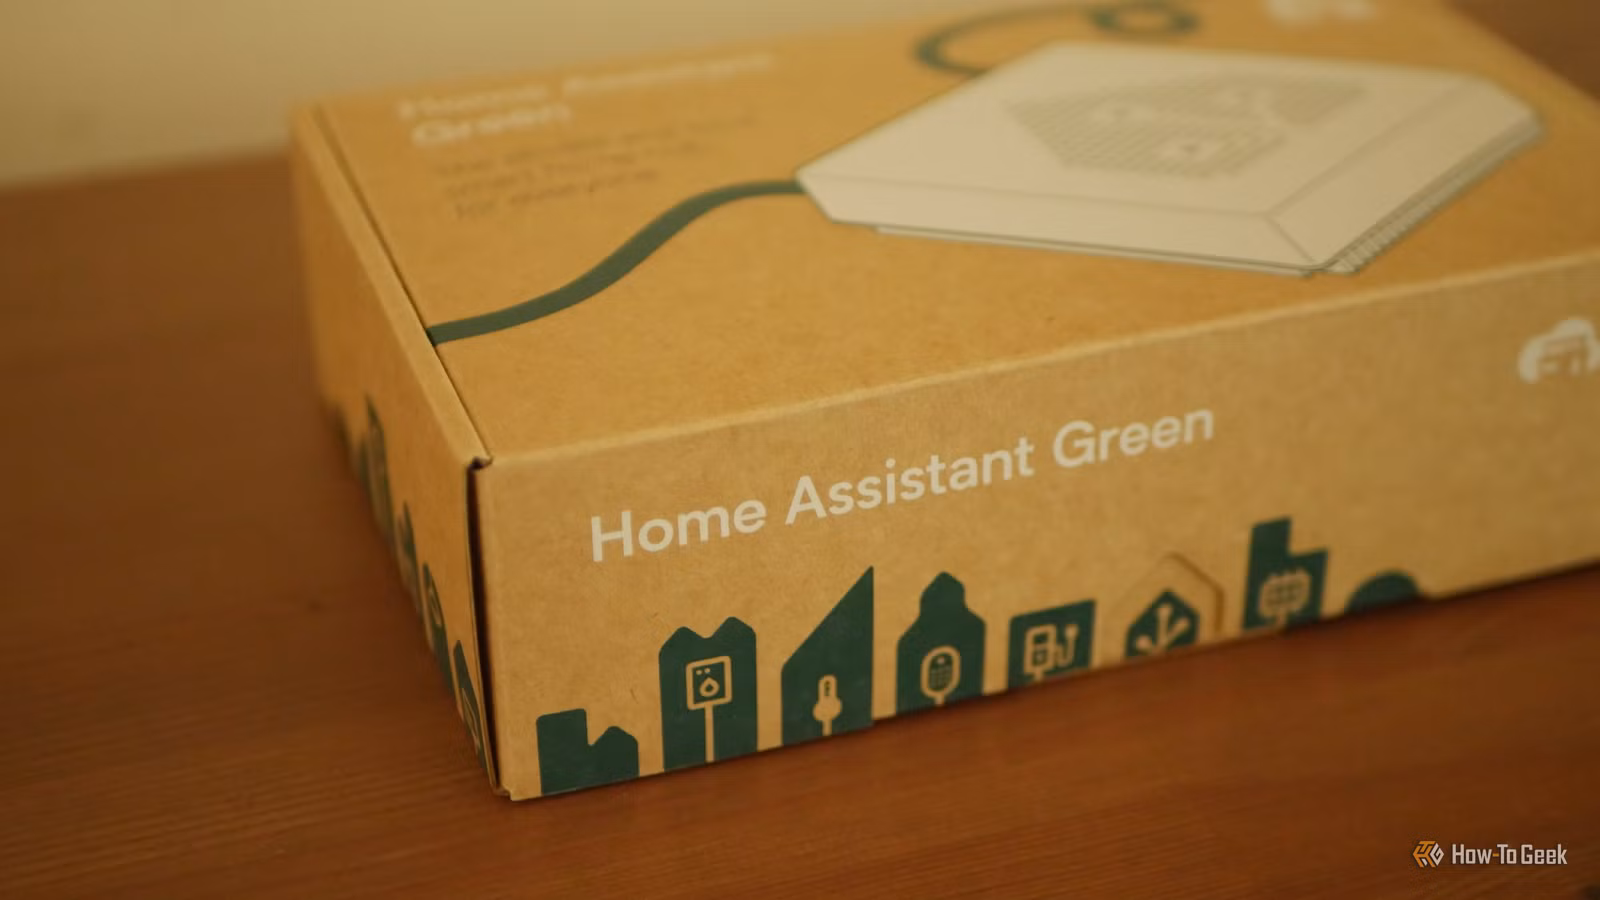
- A running Home Assistant instance (Home Assistant Green, a Raspberry Pi, or a VM)
- ESP32 development boards for the intercom and standing desk projects
- ESPHome add-on installed in Home Assistant
- Basic soldering equipment for the standing desk project
- Strong neodymium magnets and a compatible tablet case for the dashboard project
ESP32 boards cost under $10 each from AliExpress or Amazon. Audio breakout boards for the intercom add another $5-15 depending on quality. The magnetic mount materials run about $20-30. The standing desk project's cost depends entirely on your desk model and what control boards it uses.
Which project is worth your time?
The magnetic tablet mount has the best effort-to-payoff ratio. It takes 30 minutes and immediately improves daily usability. The intercom project is more impressive but only matters if you have a multi-floor home or thick walls that block voice. The standing desk automation is the most complex and the most niche.
Davidson's broader point holds: Home Assistant isn't just software. The platform becomes more useful when you build hardware that fits your specific house and habits. Cookie-cutter smart home products can't match that.
“The ideal smart home should work with minimal interaction from the user, with automations running as if by magic rather than requiring you to push buttons on a control panel.”
— Adam Davidson, How-To Geek
Another low-cost hardware fix that outperforms expensive smart home gear
Frequently Asked Questions
Do I need coding experience for these Home Assistant hardware projects?
The magnetic tablet mount requires no code at all. The ESPHome intercom uses YAML configuration rather than traditional programming. The standing desk project may require reading wiring diagrams and basic electronics knowledge, but no complex software development.
Can I use an iPad instead of an Android tablet for the magnetic dashboard?
Yes. Any tablet with a compatible magnetic case will work. iPads lack the Pixel Tablet's dedicated dock, so you'll need to position a wireless charging pad or Lightning/USB-C cable at the mount point.
How much does a full ESPHome intercom system cost?
Budget around $30-50 per room. Each endpoint needs an ESP32 board ($8-15), an audio amplifier board ($5-10), a speaker ($5-10), and optionally a microphone module. Prices vary by quality and supplier.
Will automating my standing desk void the warranty?
Almost certainly. Any modification to the control electronics will void most manufacturer warranties. If your desk is still under warranty, consider whether the automation benefits outweigh potential repair costs.
Can these projects work with Home Assistant Cloud or only local installations?
All three projects work with any Home Assistant installation type. ESPHome communicates over your local network, so remote access through Home Assistant Cloud won't affect functionality.
Logicity's Take
These projects highlight what makes Home Assistant compelling: the platform doesn't lock you into a vendor's hardware choices. The intercom project, in particular, is worth attention. Commercial options from Amazon and Google route your audio through their servers. An ESPHome intercom keeps everything local, with no subscriptions and no privacy compromises. For a technical audience, building your own costs less and teaches more than buying off the shelf.
Need Help Implementing This?
If you're planning an ESPHome build or need help integrating custom hardware with Home Assistant, Logicity covers implementation guides and troubleshooting. Follow our hacks-workarounds section for step-by-step walkthroughs on smart home projects.
Source: How-To Geek
Huma Shazia
Senior AI & Tech Writer
Produced with AI assistance and reviewed by the Logicity editorial team. Learn more in our Editorial Policy.