Pi-hole setup guide: network-wide ad blocking in 15 minutes

Key Takeaways
- Pi-hole acts as a DNS sinkhole, blocking ads and trackers for every device on your network including smart TVs and IoT devices
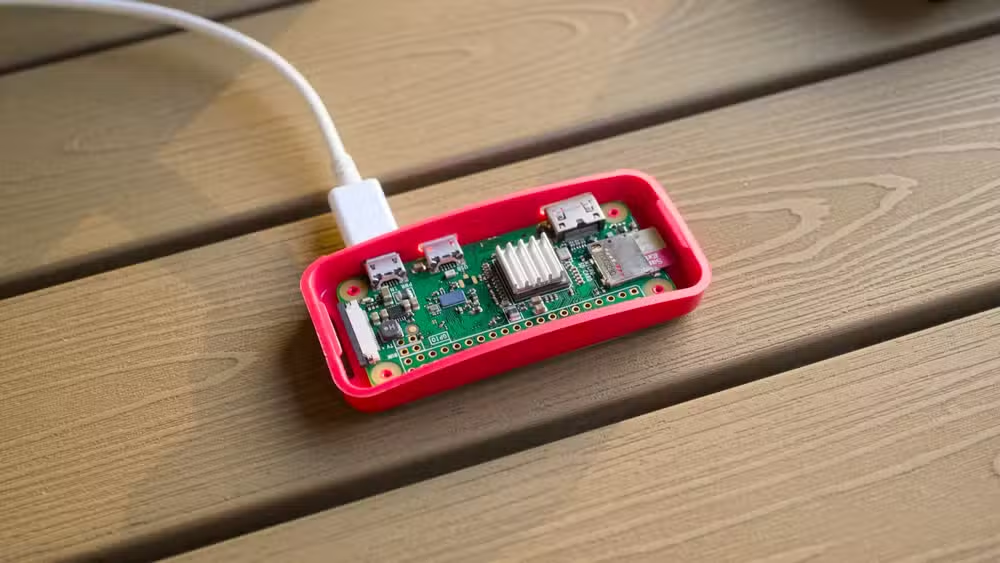
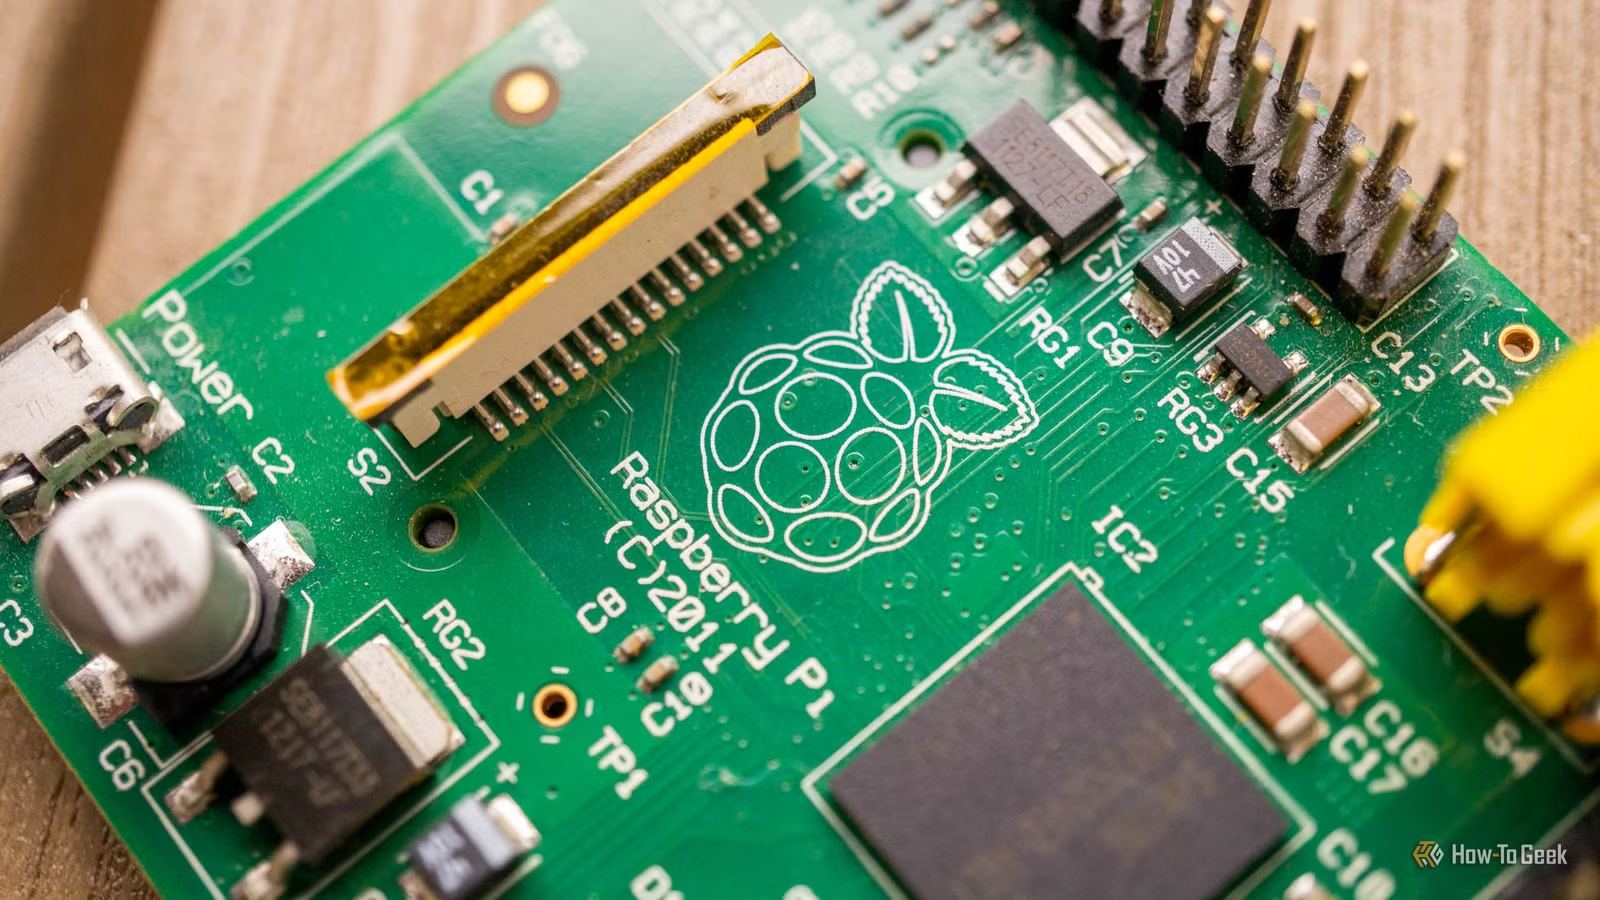
- You can run Pi-hole on hardware as cheap as a $15 Raspberry Pi Zero 2 W or repurpose an old laptop
- The entire setup requires a single command and takes about 15 minutes from start to finish
Pi-hole turns any cheap Raspberry Pi into a network-wide ad blocker that protects every device in your house. Unlike browser extensions that only work on individual devices, Pi-hole filters DNS requests at the network level. Your smart TV, your kid's tablet, your IoT thermostat: all of them stop seeing ads and stop leaking data to trackers.
The setup takes about 15 minutes and costs as little as $15 in hardware. For anyone curious about self-hosting or homelabbing, it's a near-perfect first project: immediate, tangible benefits with minimal complexity.
How does Pi-hole actually work?
Every time you type a web address into a browser, your device asks a DNS server to translate that human-readable address into an IP address. Think of DNS as the phone book of the internet. Pi-hole inserts itself as your network's DNS server and intercepts every lookup before it leaves your home.
When a web page loads, it often makes dozens of DNS requests: one for the main content, others for embedded videos, fonts, and third-party scripts. Many of those requests go to ad servers or tracking domains.
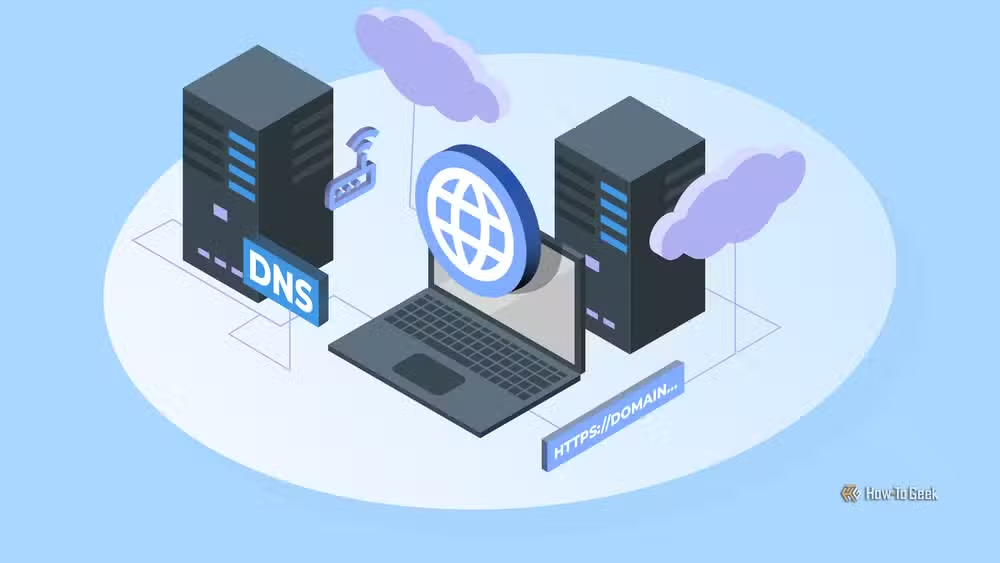
Pi-hole checks each request against blocklists of known advertising and tracking domains. When it finds a match, it returns a null address like 0.0.0.0 instead of the real IP. The ad never loads. The tracker never fires. Your browsing gets faster and more private.
One limitation: Pi-hole can't block ads served from the same domain as the content you want. Streaming services that serve ads from their own servers, for example, will still show those ads. You'd have to block the entire service to block the ad.
What hardware do you need?
Pi-hole is lightweight enough to run on almost anything. A $15 Raspberry Pi Zero 2 W handles DNS for an entire household without breaking a sweat. An old laptop collecting dust in a drawer works fine too.
If you already have a NAS or home server, you can run Pi-hole in a container alongside your other services. No dedicated hardware required. The author of the original How-To Geek article runs Pi-hole on a cheap mini PC using Proxmox, sharing the same hardware with Home Assistant, Jellyfin, and Immich.
One non-negotiable requirement: Pi-hole needs a fixed IP address. Your router needs to know where to send DNS requests, and that destination can't change. You can either set a DHCP reservation on your router or configure a static IP directly on the Pi-hole device.
The actual setup process
Here's the part that surprises people: the installation is a single command. If you've got Linux running on your hardware (Raspberry Pi OS, Ubuntu, Debian), you paste one line into the terminal and follow the prompts.
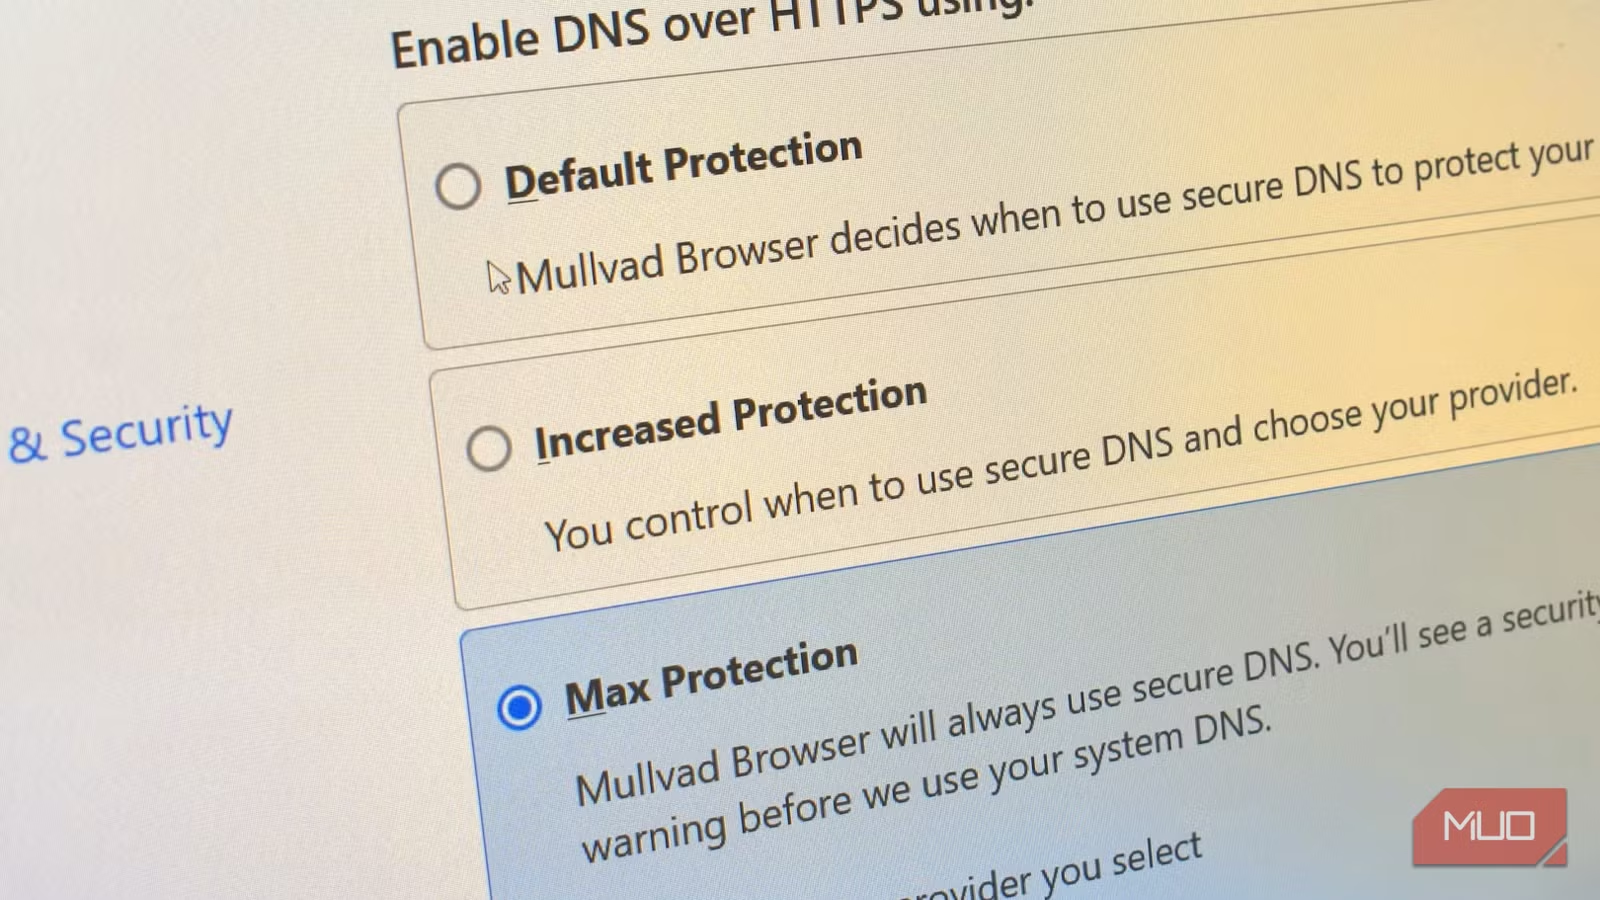
curl -sSL https://install.pi-hole.net | bashThe installer walks you through selecting an upstream DNS provider, choosing which blocklists to enable, and setting your admin password. When it finishes, you point your router's DNS settings at your Pi-hole's IP address, and every device on your network starts getting filtered.
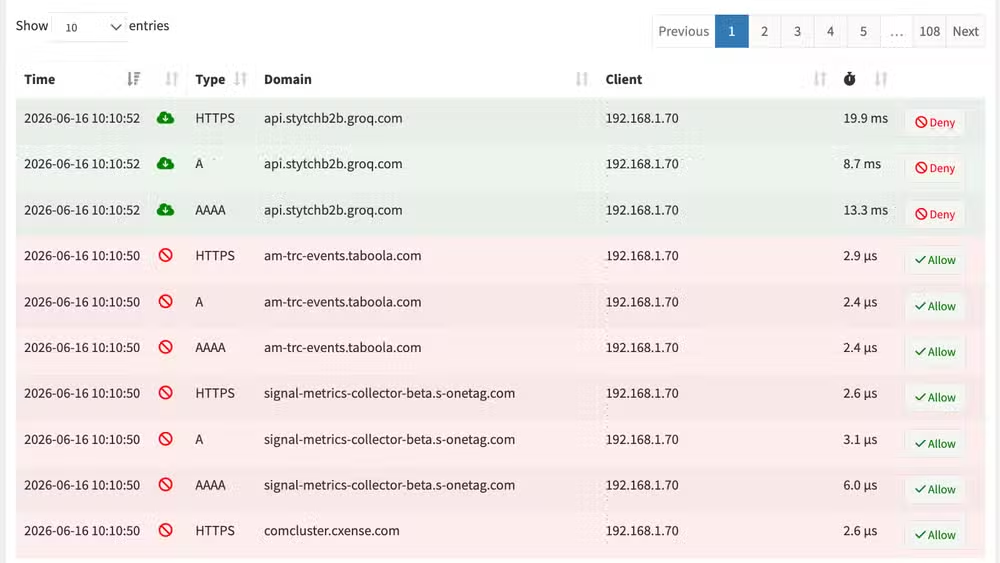
The web dashboard shows you exactly what's happening: how many queries you've made, how many got blocked, which domains your devices are trying to reach. It's addictive to watch. You'll be surprised how much traffic your smart TV generates at 3 AM.
Why this is the ideal first homelab project
Most homelab projects require you to learn a lot before you see any benefit. Pi-hole inverts that. Within 15 minutes, you have something working that makes your daily internet experience noticeably better. The learning comes after, as you tinker with blocklists and whitelist domains that break.
It also introduces core concepts: DNS, static IPs, containers, SSH, command-line basics. These show up in every other homelab project. Learning them in a context where you can see immediate results makes the knowledge stick.
What about mobile devices outside your network?
Pi-hole only works for devices on your home network. When you leave the house, your phone goes back to using your carrier's DNS and seeing ads. The workaround is setting up a VPN back to your home network, which routes your mobile traffic through Pi-hole wherever you are.
That's a more advanced project, but WireGuard makes it relatively painless. Once you've got Pi-hole running and understand the basics, adding a VPN becomes a natural next step.
Another practical guide for customizing your development environment
Frequently Asked Questions
Does Pi-hole slow down my internet?
No. DNS lookups take milliseconds, and Pi-hole responds faster than most external DNS servers because it's on your local network. Blocking ads actually speeds up page loads because there's less content to download.
Will Pi-hole break websites?
Sometimes. Overly aggressive blocklists can block domains that legitimate sites need. The fix is simple: check your Pi-hole logs, find the blocked domain, and whitelist it.
Can Pi-hole block YouTube ads?
Not reliably. YouTube serves ads from the same domains as video content. Blocking those domains would block videos too. Browser-based ad blockers handle YouTube better.
Do I need to know Linux to set up Pi-hole?
Minimal knowledge is enough. If you can paste a command into a terminal and follow prompts, you can install Pi-hole. The web dashboard handles most ongoing management.
What happens if my Pi-hole goes offline?
Your devices won't be able to resolve DNS queries and will appear to have no internet. Most routers let you set a secondary DNS as fallback, or you can manually reconfigure during outages.
Logicity's Take
Pi-hole represents something bigger than just ad blocking. It's a quiet pushback against the surveillance economy that most users feel powerless to resist. The fact that a $15 computer and 15 minutes of work can reclaim this much control over your own network traffic reveals how thin the ad-tech industry's grip really is. For technical professionals considering their first homelab project, Pi-hole's ROI is unmatched: practical daily benefit, transferable skills, and a gateway drug to self-hosting everything else.
Need Help Implementing This?
Setting up Pi-hole for a home network is straightforward, but enterprise deployments or multi-site configurations need more planning. If you're looking to implement network-wide filtering for your organization, reach out to discuss architecture options.
Source: How-To Geek
Manaal Khan
Tech & Innovation Writer
Related Articles
Browse all
How to Jailbreak Your Kindle: Escape Amazon's Control Before They Brick Your E-Reader
Amazon is cutting off support for older Kindles starting May 2026, but you don't have to buy a new device. Jailbreaking your Kindle lets you install custom software like KOReader, read ePub files natively, and keep your e-reader alive for years to come.
X-Sense Smoke and CO Detectors at Home Depot: UL-Certified Alarms You Can Actually Trust
X-Sense just made their UL-certified smoke and carbon monoxide detectors available at Home Depot stores nationwide. The lineup includes wireless interconnected models that can link up to 24 units, 10-year sealed batteries, and smart features designed to cut down on those annoying false alarms that make people disable their detectors entirely.
How to Change Your Browser's DNS Settings for Faster, Private Browsing in 2026
Your browser's default DNS settings are probably slowing you down and leaking your browsing history to your ISP. Here's why changing this one setting should be the first thing you do on any new device, and how to pick the right DNS provider for your needs.
Raspberry Pi at 15: Why the King of Single-Board Computers Is Losing Its Crown
After 15 years of dominating the hobbyist computing scene, the Raspberry Pi faces serious competition from cheaper alternatives, supply chain headaches, and a market that's evolved past its original mission. Here's what's happening and what it means for your next project.