How to Build Your Own DNS Server and Ditch Cloudflare

Key Takeaways
- You can run a home DNS server on old hardware with at least 2GB RAM and a 64-bit CPU
- Unbound handles DNS resolution while AdGuard provides ad-blocking and filtering
- Using a Realtek RTL8153 chipset Ethernet adapter avoids common Linux compatibility issues
Changing your DNS settings is one of the simplest privacy upgrades you can make. Most people swap their ISP's default DNS for Cloudflare's 1.1.1.1 or Google's 8.8.8.8 and call it a day. But Gavin Phillips at MakeUseOf wanted more control. He built his own DNS server using an old laptop, open-source software, and a weekend's worth of tinkering.
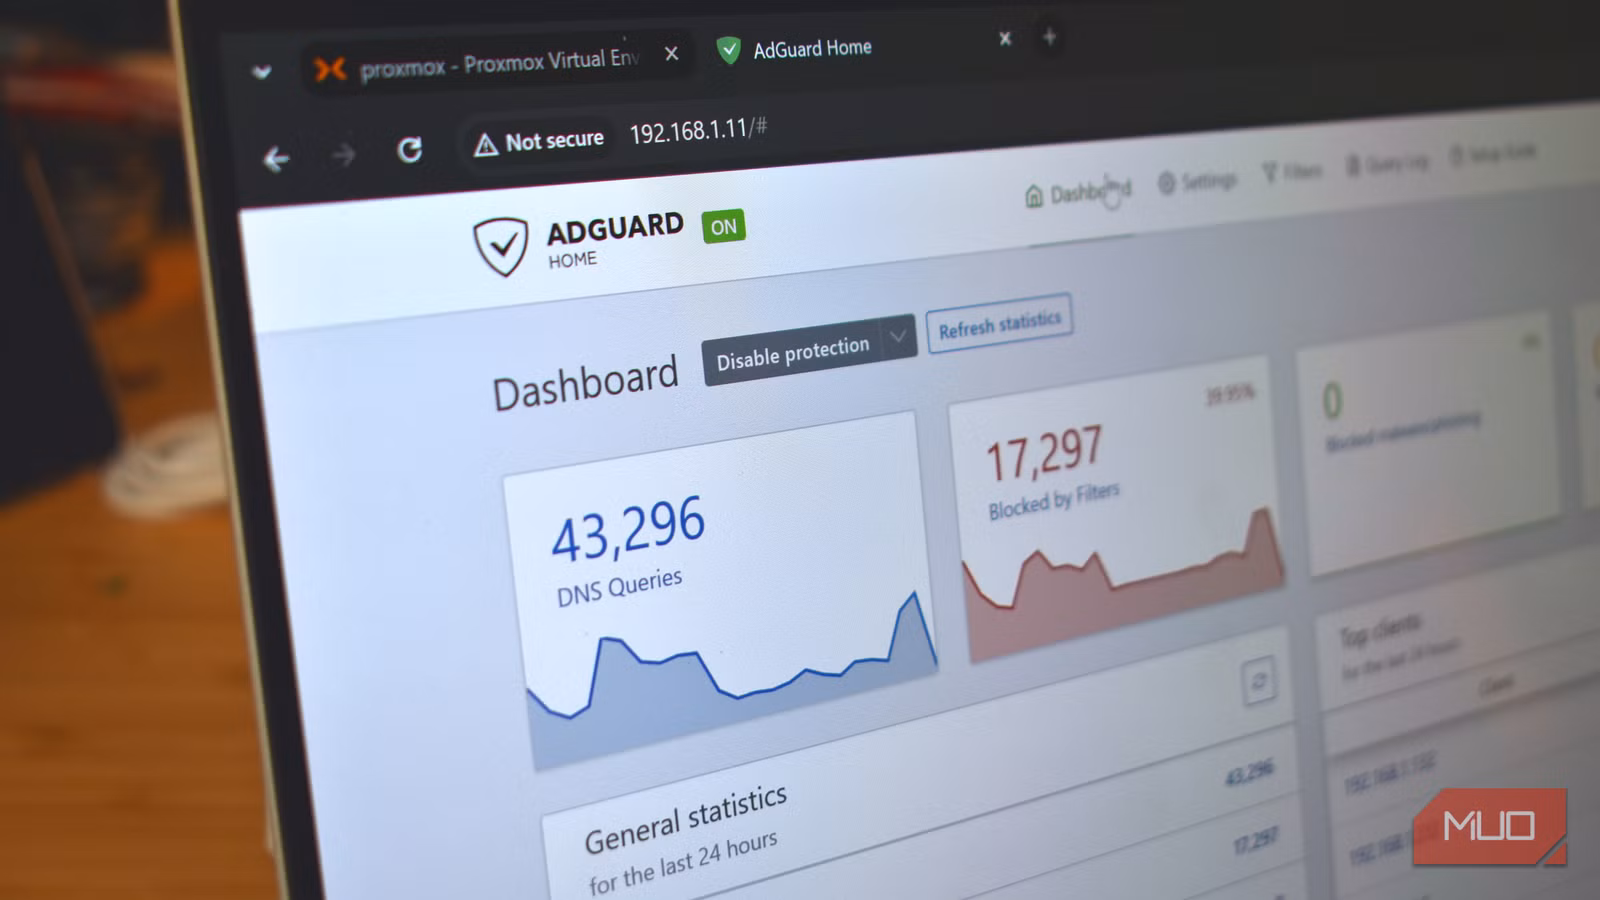
The result: all DNS requests stay inside his home network. No third-party provider sees what domains he queries. And he gets network-wide ad-blocking as a bonus.
The Hardware Requirements Are Minimal
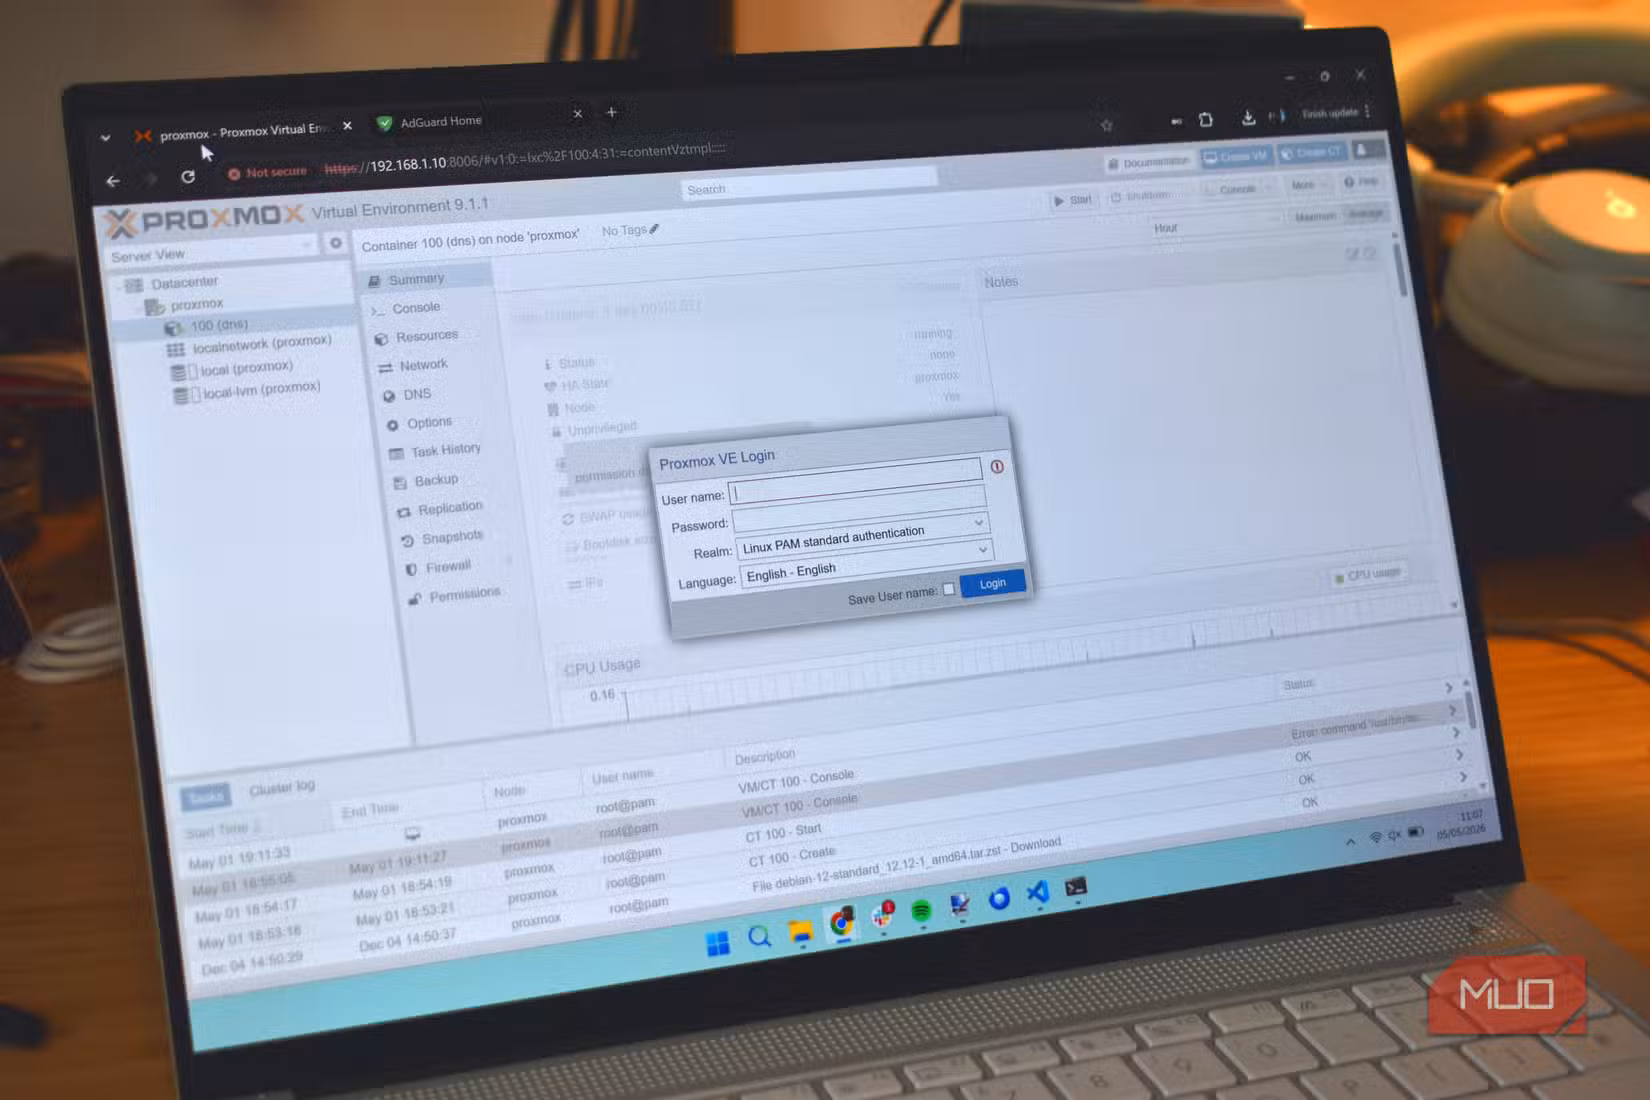
Phillips used a 2021 Honor MagicBook 14 with an Intel i5-1135G7 processor, 8GB of DDR4 RAM, and a 512GB SSD. This is overkill for a DNS server. Proxmox, the open-source virtualization platform he chose, runs on much older hardware.
The minimum requirements are straightforward: a 64-bit CPU (most computers from the last 15 years qualify), Intel VT or AMD-V virtualization support, and at least 2GB of RAM. An onboard Ethernet port helps, but a USB adapter works too.
One hardware note worth flagging: if you use a USB-to-Ethernet adapter, pick one with a Realtek RTL8153 chipset. It has the best Linux support. The common alternative, AX88179, causes problems with Proxmox.
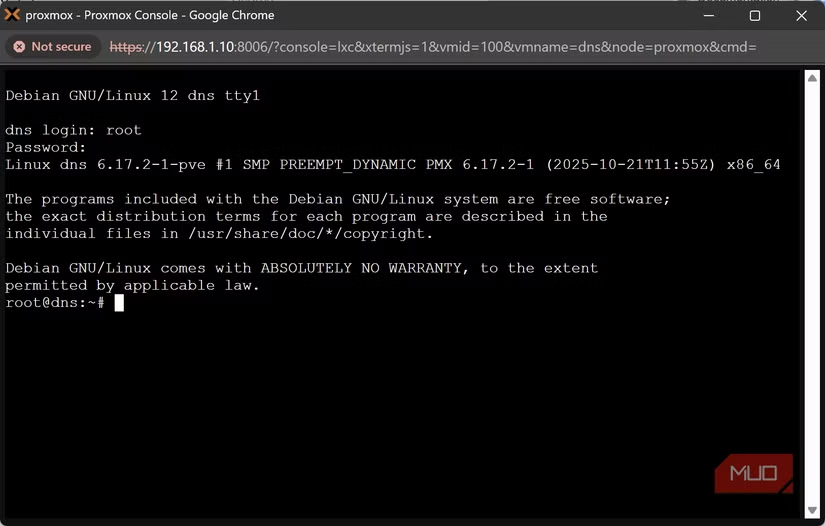
The Software Stack: Unbound Plus AdGuard
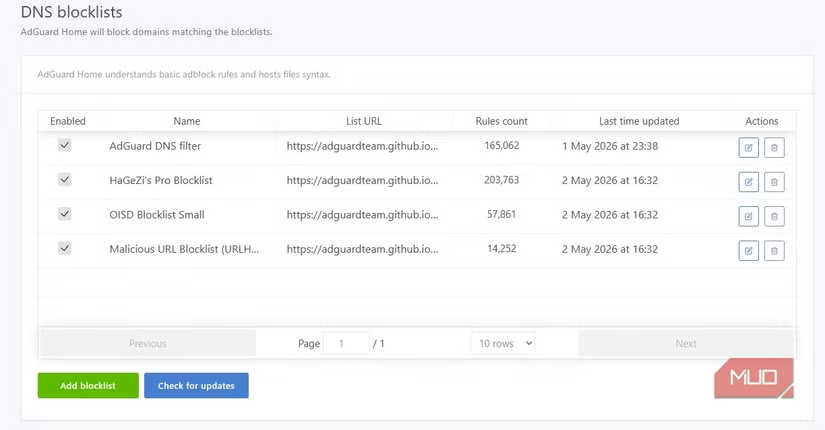
Phillips built his DNS stack with two components. Unbound handles the core DNS resolution work. It translates human-readable domain names (like logicity.in) into machine-readable IP addresses. AdGuard adds filtering, blocking, and a management interface.
This combination delivers two benefits. First, DNS queries never leave your network. No company logs what sites you visit. Second, AdGuard blocks ads and trackers at the DNS level. Every device on your network benefits without needing individual browser extensions.
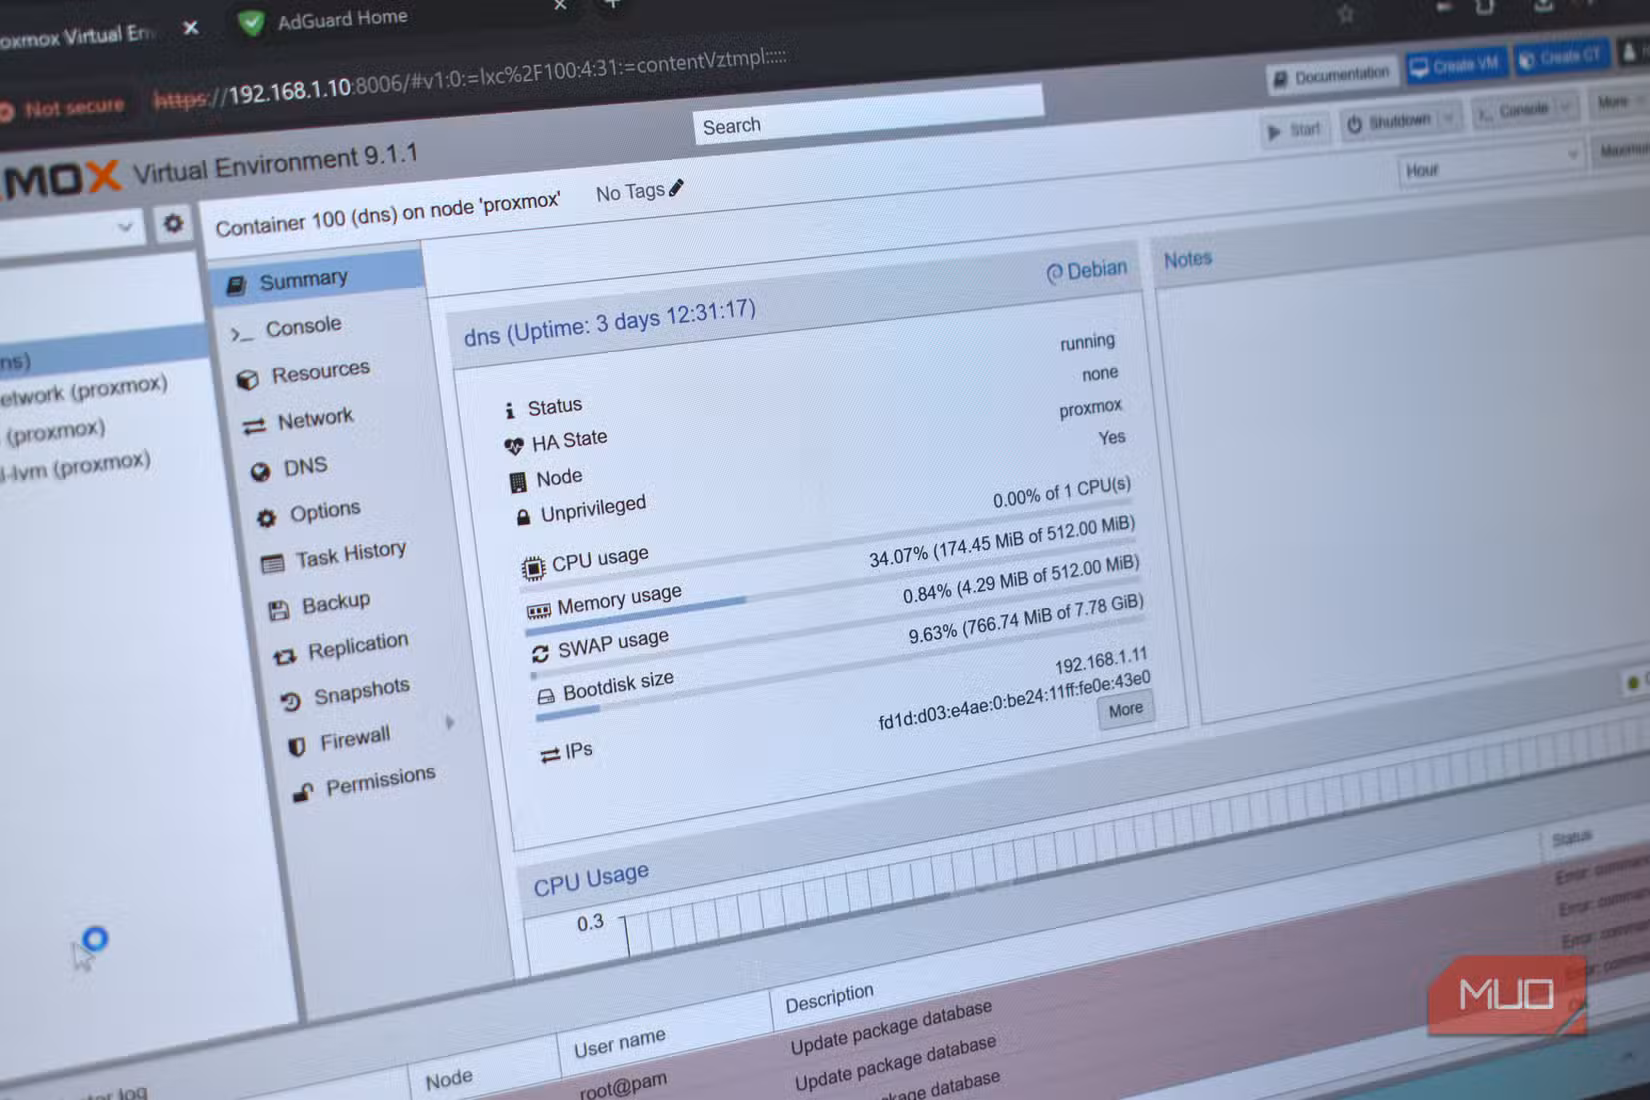
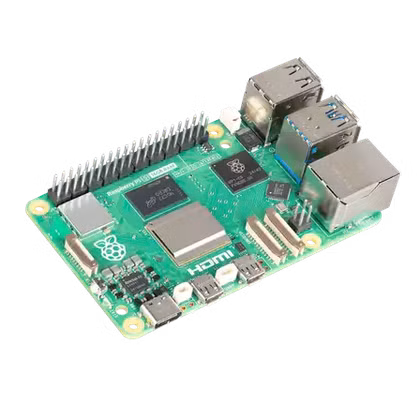
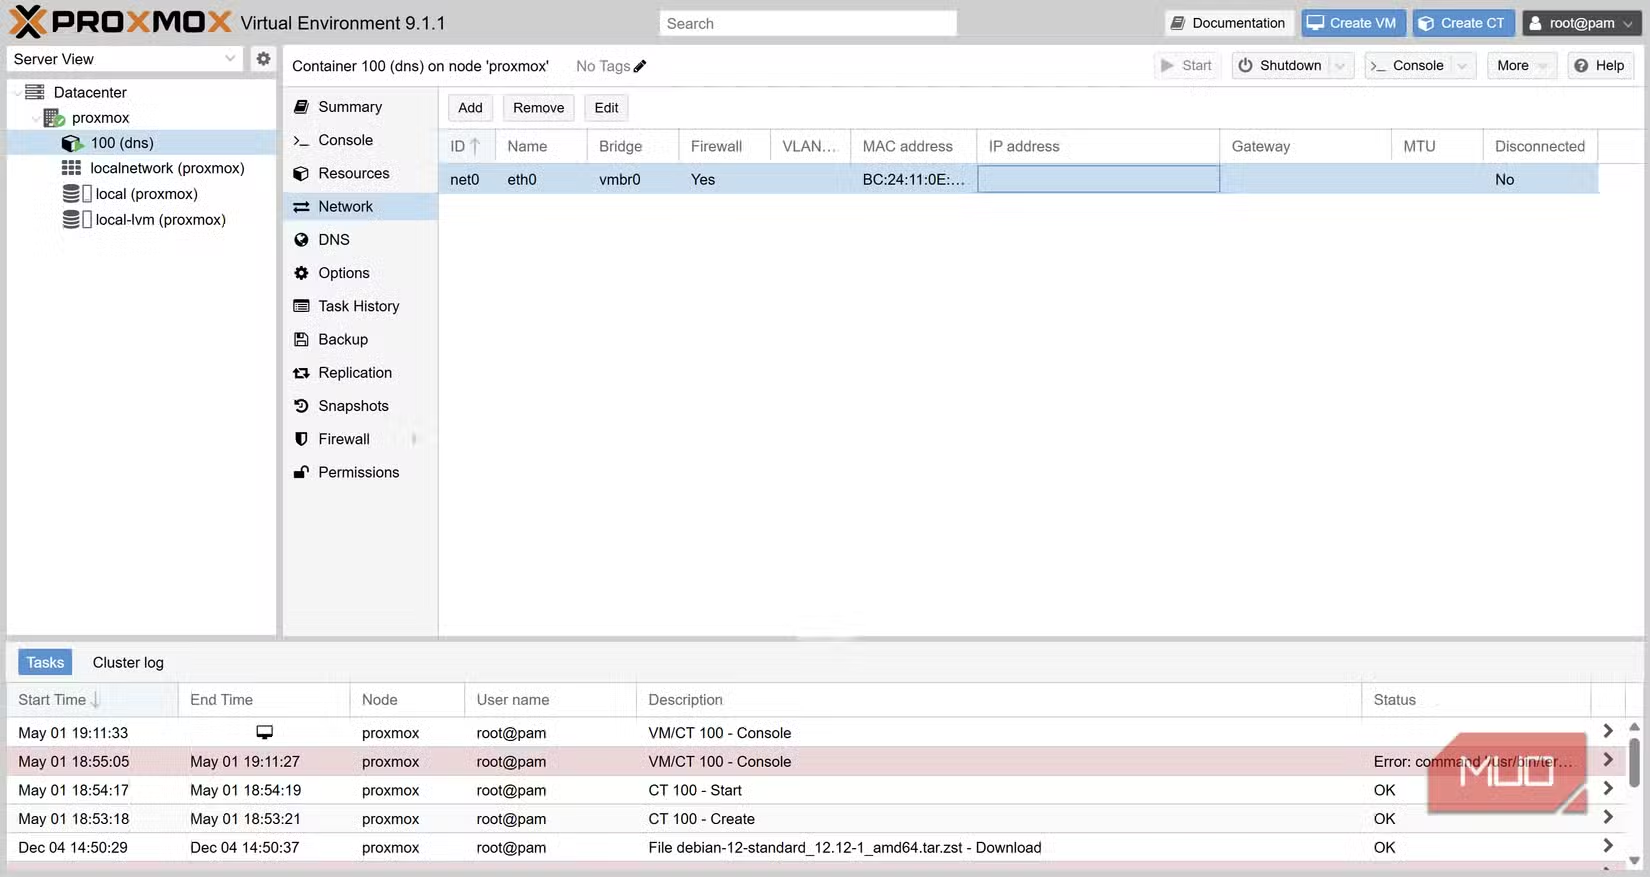
Why Proxmox Instead of a Raspberry Pi
You could run this same stack on a Raspberry Pi. Many people do. Phillips chose Proxmox because he wanted to run multiple virtual machines on the same hardware. A DNS server barely uses any resources. The leftover computing power can host other services.
Proxmox is free, open-source, and designed for exactly this use case. It turns any x86 machine into a server that can run multiple isolated environments. For someone new to Linux and server administration, Phillips reports the learning curve was gentler than expected.
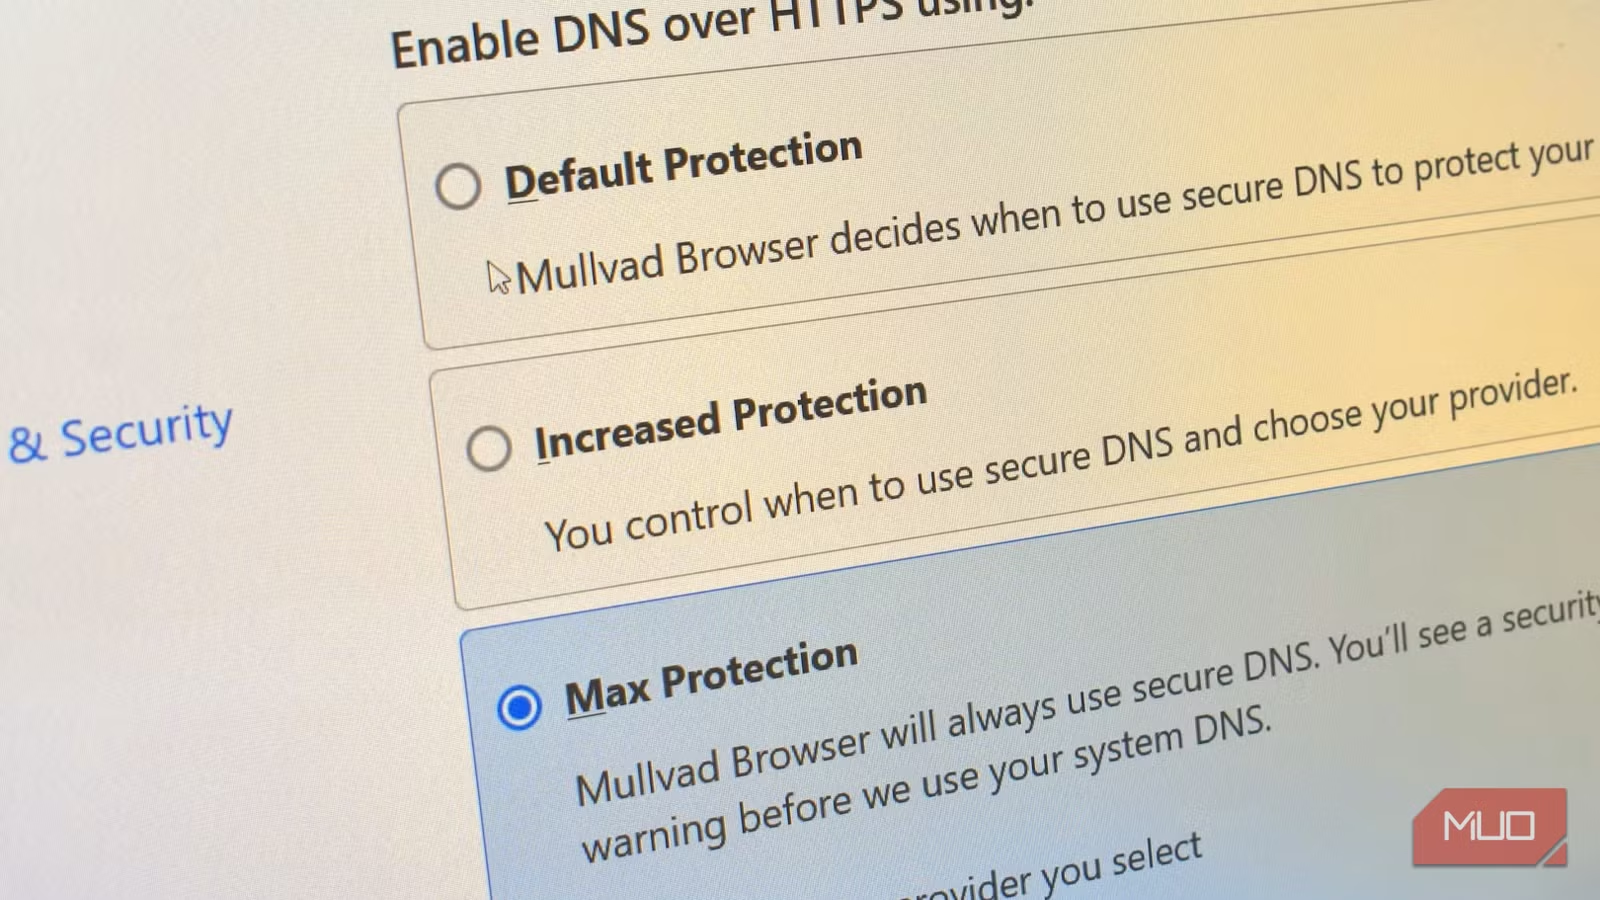
The Privacy Case Against Cloud DNS
Cloudflare and Google offer free DNS services with strong uptime and security features. But they still see every domain you query. Their privacy policies promise not to sell this data, but the data still exists on their servers.
Running your own DNS server eliminates this trade-off. You get the speed and security benefits without sending your browsing patterns to a third party. For people who already run home networks with NAS devices or media servers, adding DNS is a logical next step.
Is This Worth the Effort?
For most people, changing DNS settings to 1.1.1.1 or 9.9.9.9 (Quad9) is enough. These are reliable, privacy-respecting options that require zero maintenance.
But if you have old hardware sitting unused, want network-wide ad-blocking, or simply enjoy learning about networking, building your own DNS server is a satisfying weekend project. Phillips describes the process as surprisingly smooth, even without deep Linux experience.
Another guide to repurposing old hardware for practical home projects
✅ Pros
- • Complete privacy: no third party sees your DNS queries
- • Network-wide ad-blocking without per-device configuration
- • Reuses old hardware that might otherwise collect dust
- • Educational: teaches basic Linux and networking skills
❌ Cons
- • Requires initial setup time and troubleshooting
- • No uptime guarantee if your server goes down
- • Overkill for users satisfied with Cloudflare or Quad9

Logicity's Take
Frequently Asked Questions
What hardware do I need for a home DNS server?
Any 64-bit computer with at least 2GB RAM and virtualization support. An old laptop or desktop works fine.
Is a Raspberry Pi good enough for DNS?
Yes. Many people run Pi-hole or AdGuard Home on Raspberry Pi devices. Proxmox requires x86 hardware but offers more flexibility.
What's the difference between Unbound and AdGuard?
Unbound resolves DNS queries. AdGuard filters them, blocking ads and trackers before they load.
Is self-hosted DNS faster than Cloudflare?
Not necessarily. The benefit is privacy, not speed. Your queries stay local instead of going to a third-party server.
What happens if my DNS server goes down?
Your devices lose internet access until you fix it or switch to a backup DNS. Some routers let you set fallback DNS servers.
Need Help Implementing This?
Source: MakeUseOf
Manaal Khan
Tech & Innovation Writer
Related Articles
Browse all
How to Jailbreak Your Kindle: Escape Amazon's Control Before They Brick Your E-Reader
Amazon is cutting off support for older Kindles starting May 2026, but you don't have to buy a new device. Jailbreaking your Kindle lets you install custom software like KOReader, read ePub files natively, and keep your e-reader alive for years to come.

X-Sense Smoke and CO Detectors at Home Depot: UL-Certified Alarms You Can Actually Trust
X-Sense just made their UL-certified smoke and carbon monoxide detectors available at Home Depot stores nationwide. The lineup includes wireless interconnected models that can link up to 24 units, 10-year sealed batteries, and smart features designed to cut down on those annoying false alarms that make people disable their detectors entirely.
How to Change Your Browser's DNS Settings for Faster, Private Browsing in 2026
Your browser's default DNS settings are probably slowing you down and leaking your browsing history to your ISP. Here's why changing this one setting should be the first thing you do on any new device, and how to pick the right DNS provider for your needs.

Raspberry Pi at 15: Why the King of Single-Board Computers Is Losing Its Crown
After 15 years of dominating the hobbyist computing scene, the Raspberry Pi faces serious competition from cheaper alternatives, supply chain headaches, and a market that's evolved past its original mission. Here's what's happening and what it means for your next project.