Key Takeaways
- ESPHome works with ESP32, ESP8266, and RP2040 microcontrollers, some costing as little as $5
- Ready-made projects let you deploy devices without soldering or coding
- Browser-based flashing through Chrome or Edge takes minutes
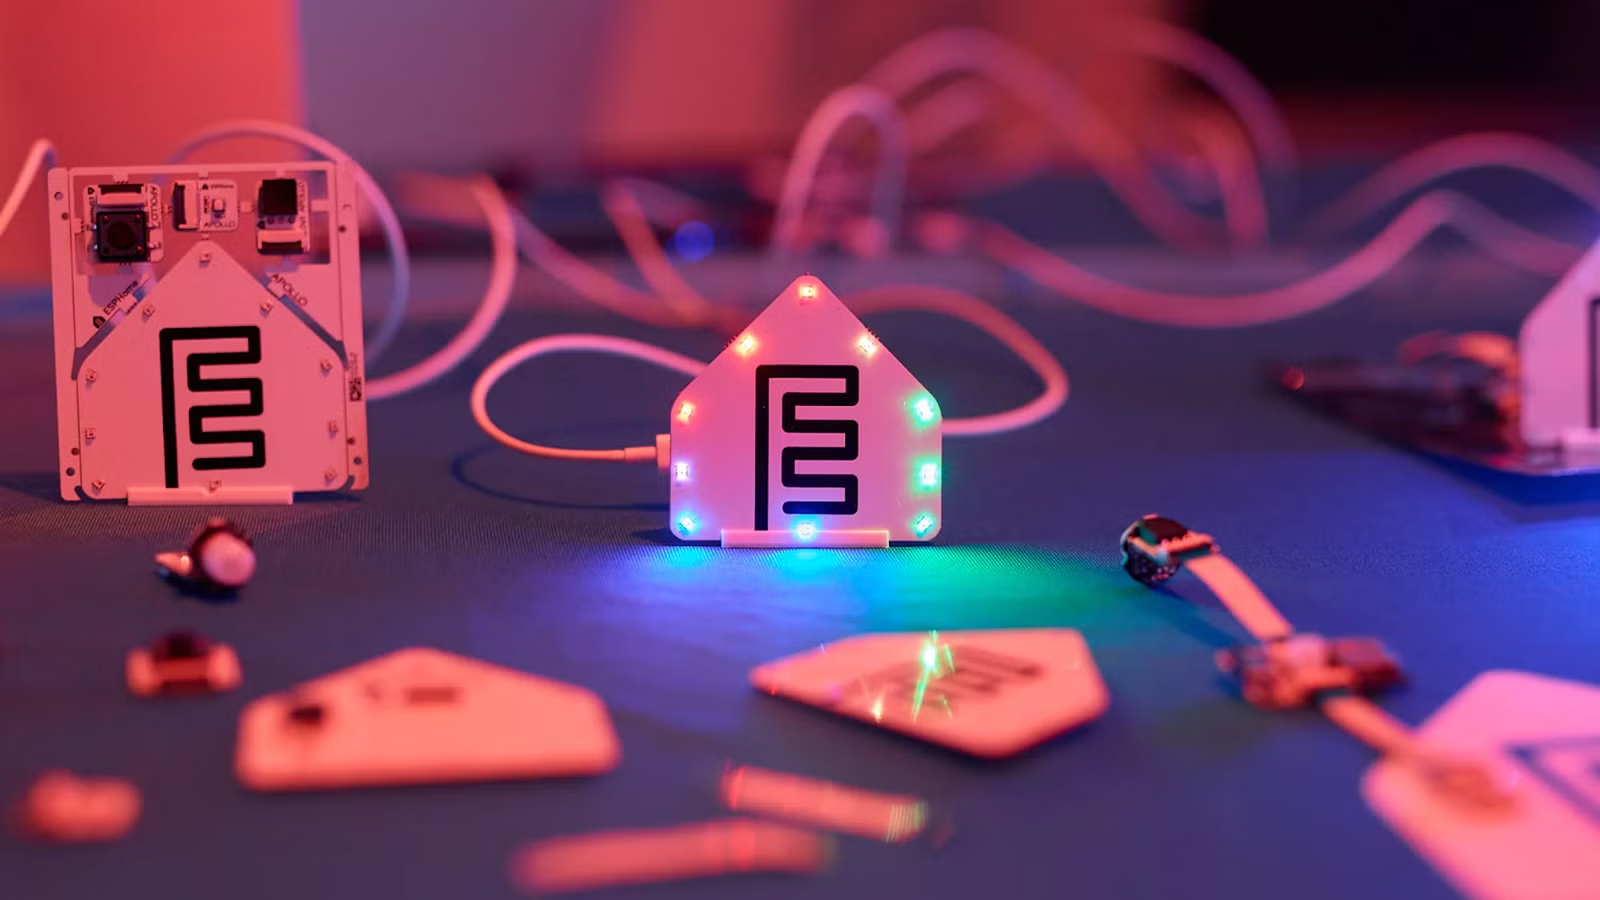
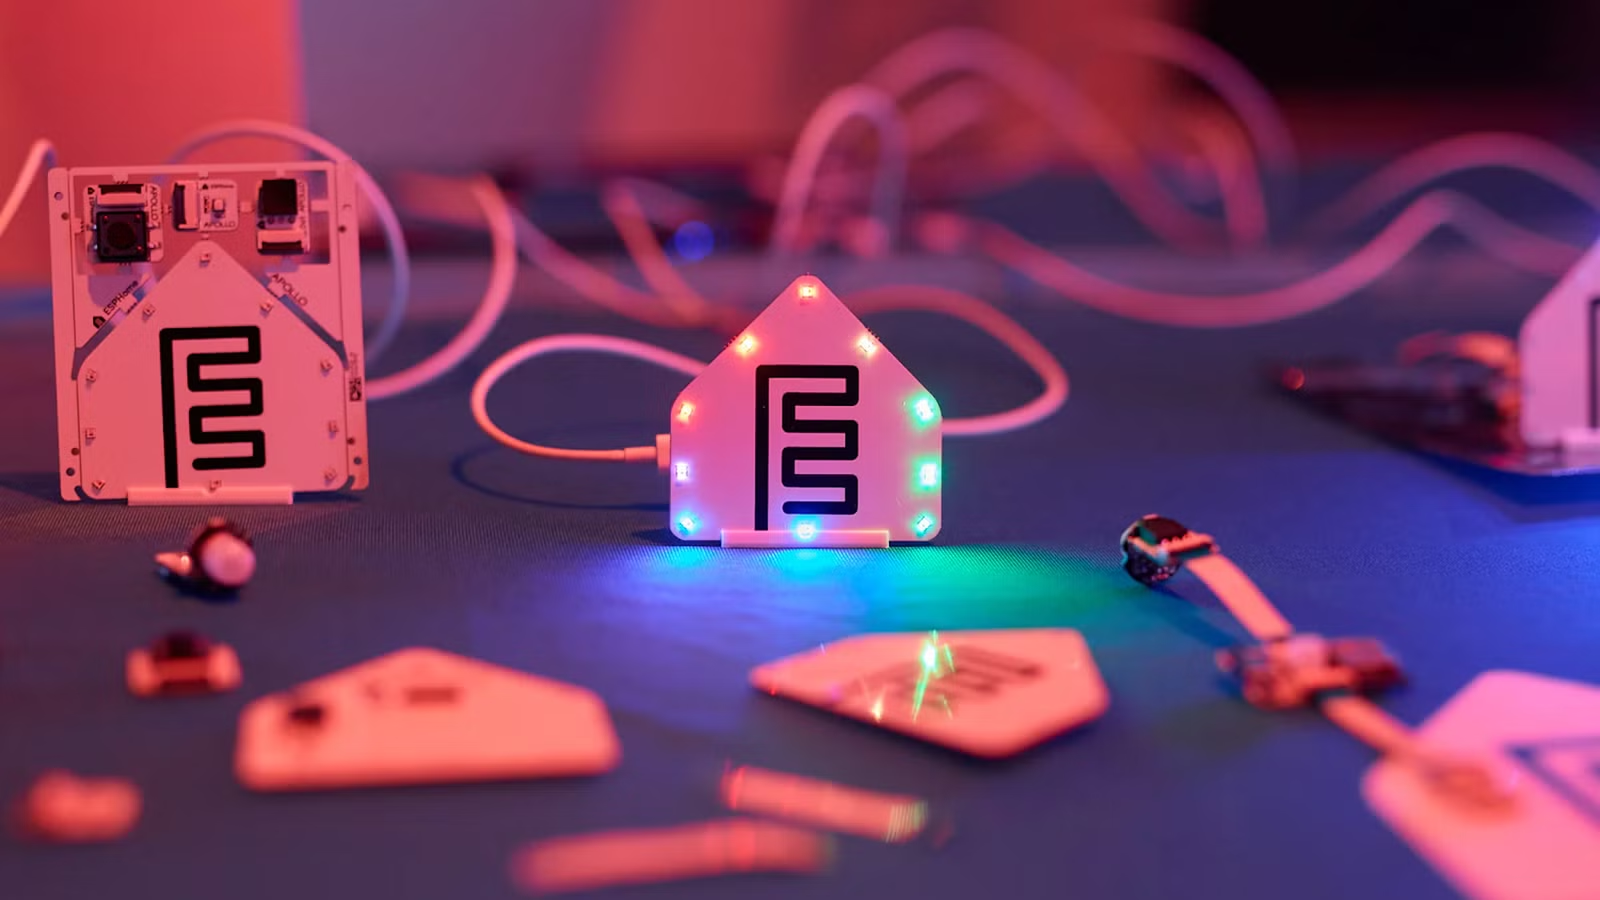
If you've looked into DIY smart home projects, you've probably hit a wall. Most solutions require coding skills, soldering experience, or both. ESPHome changes that. It's a free, open-source framework that puts firmware on cheap microcontrollers without requiring you to write a single line of code.
The framework supports ESP32, ESP8266, and RP2040 chips. These are the workhorses behind countless smart home devices. The difference is you control them, they run locally, and they integrate directly with Home Assistant.
What Makes ESPHome Different
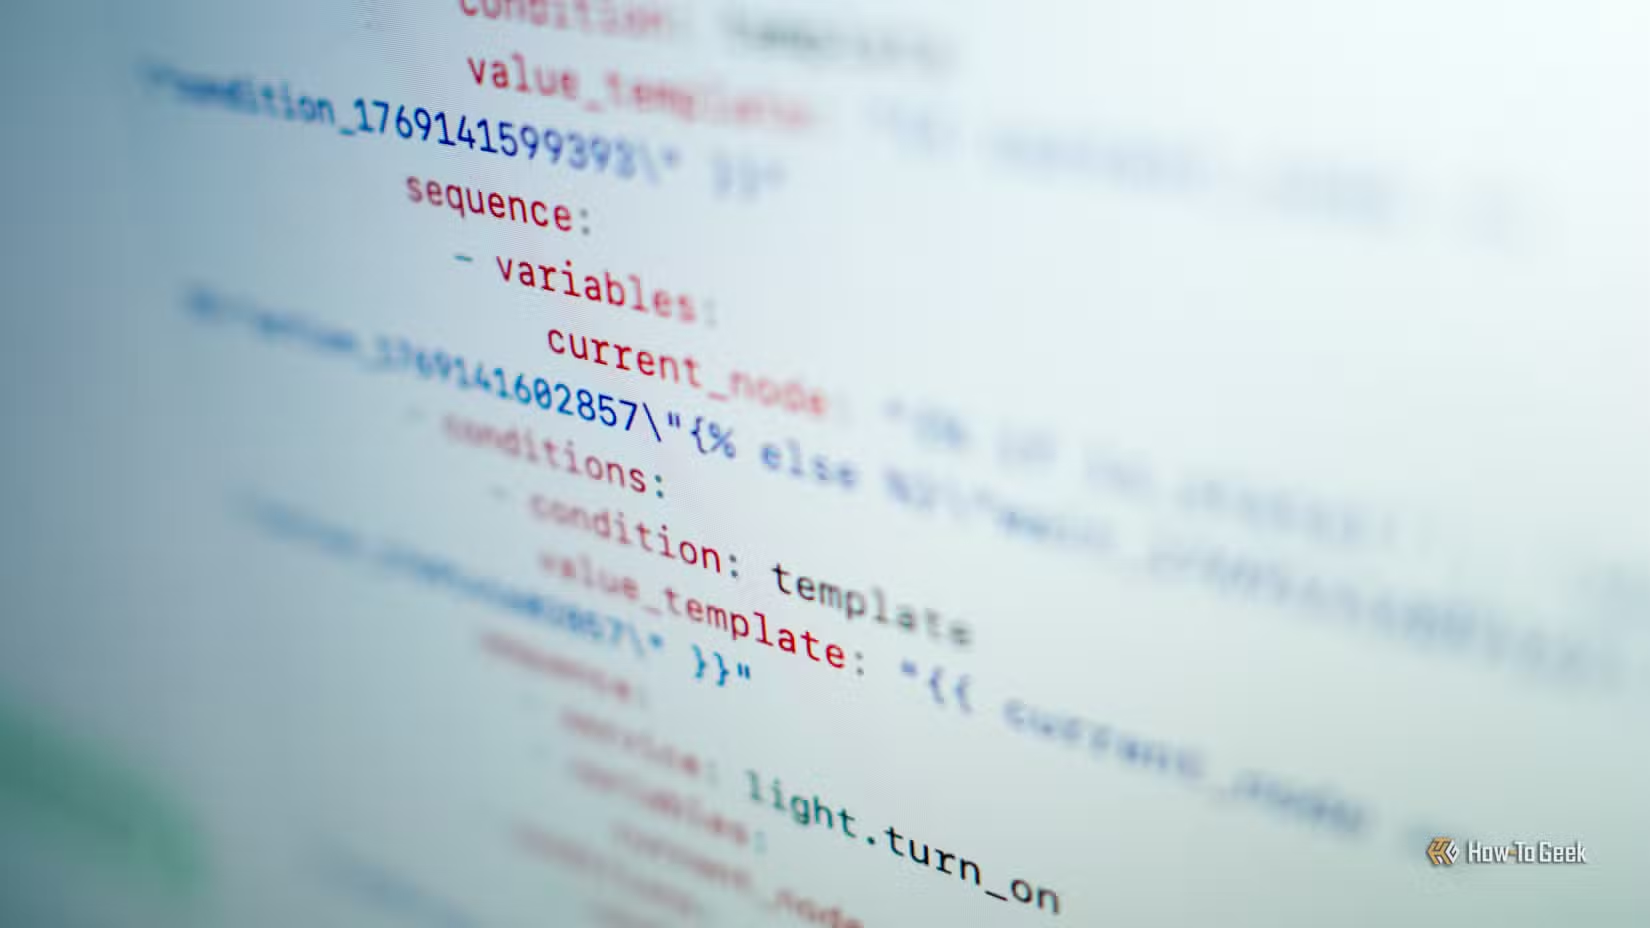
Traditional microcontroller projects demand comfort with Arduino IDE, C++, and GPIO pin diagrams. ESPHome strips away that complexity. You configure devices using YAML files. If you've ever edited a config file, you can work with ESPHome.
The real breakthrough is browser-based flashing. Open Chrome or Microsoft Edge, connect your microcontroller via USB, and ESPHome pushes firmware directly through the browser. No software installation. No command line. The whole process takes minutes.
Ready-Made Projects: No Soldering Required
ESPHome maintains a library of ready-made projects designed for specific hardware combinations. These pre-built configurations let you deploy functional devices immediately.
The simplest example is a Bluetooth proxy. Any supported microcontroller with Bluetooth capability can become a bridge between your Bluetooth devices and Home Assistant. Flash the firmware, plug it in, done.
More complex projects exist for temperature sensors, motion detectors, presence detection, and air quality monitors. Each comes with detailed hardware lists and step-by-step setup guides.
Hardware Options Starting at $5
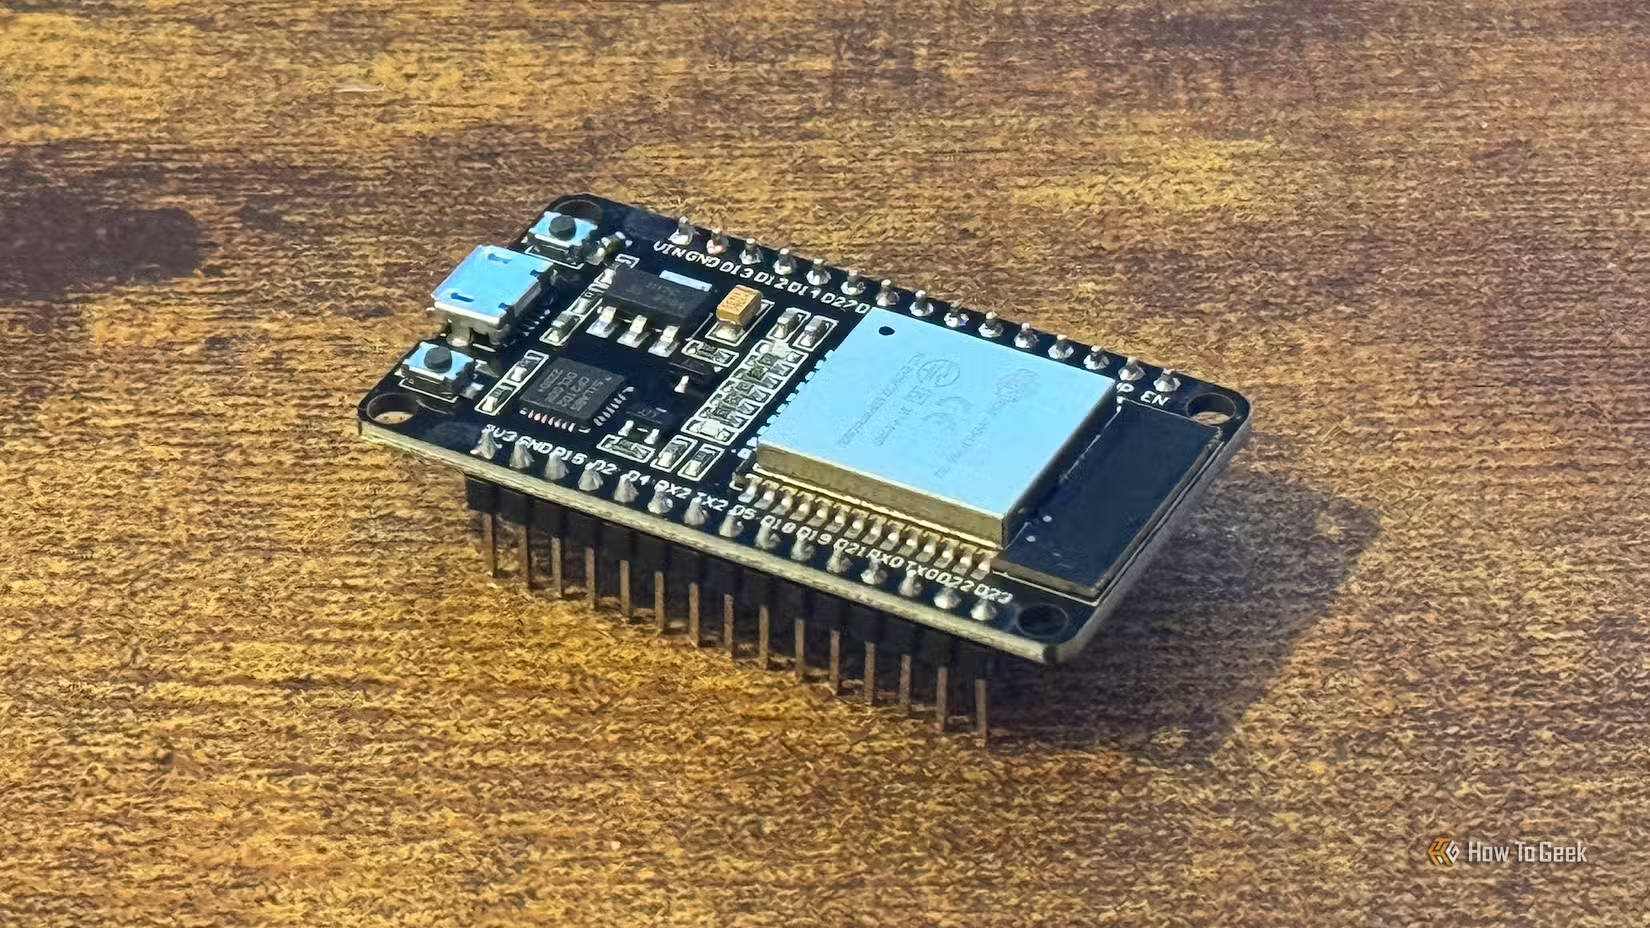
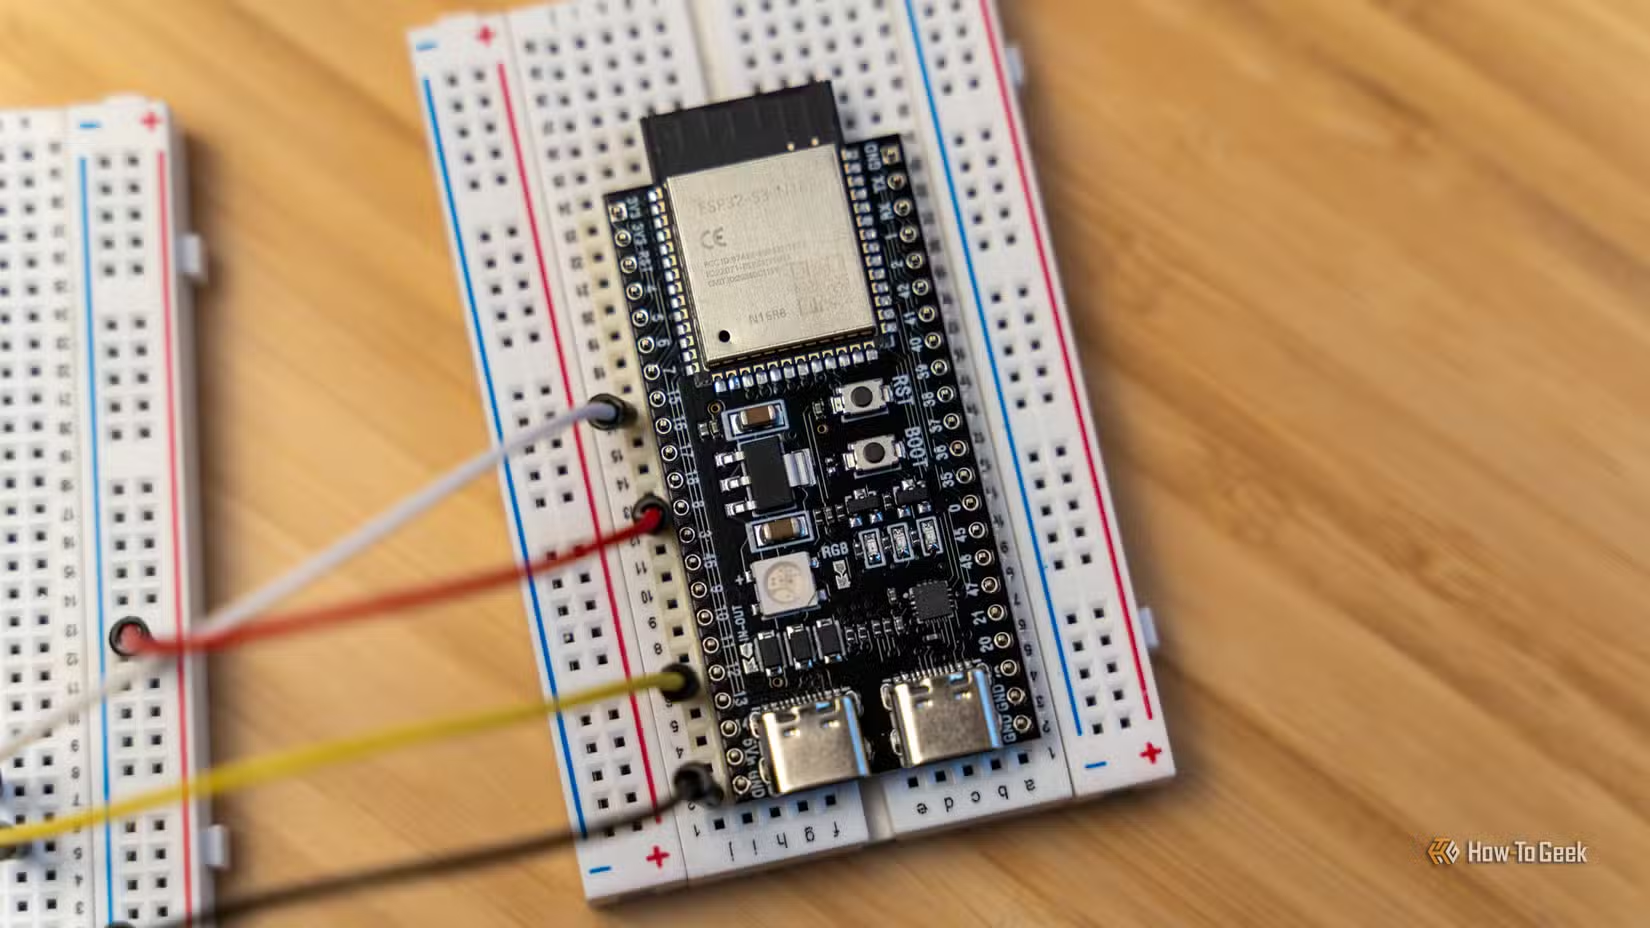
The ESP32 family dominates ESPHome projects. These chips pack Wi-Fi and Bluetooth into boards smaller than a thumb drive.
The Seeed Studio XIAO ESP32-C3 costs $5 direct from Seeed Studio or $10 on Amazon. It includes Wi-Fi, Bluetooth, and a deep sleep mode that minimizes power consumption when idle. The compact form factor makes it ideal for building into enclosures.
For newer protocols, the XIAO ESP32-C6 adds Zigbee, Z-Wave, Matter, and Thread support alongside Wi-Fi 6. It runs $5 from Seeed Studio or $12 on Amazon.
| Feature | XIAO ESP32-C3 | XIAO ESP32-C6 |
|---|---|---|
| Direct Price | $5 | $5 |
| Amazon Price | $10 | $12 |
| Wi-Fi | Yes | Wi-Fi 6 |
| Bluetooth | Yes | Yes |
| Zigbee/Z-Wave | No | Yes |
| Matter/Thread | No | Yes |
| Deep Sleep | Yes | Yes |
Native Home Assistant Integration
ESPHome was built for Home Assistant. Devices flashed with ESPHome firmware appear automatically in Home Assistant's integration list. No MQTT broker configuration. No custom components. The connection is direct and encrypted.
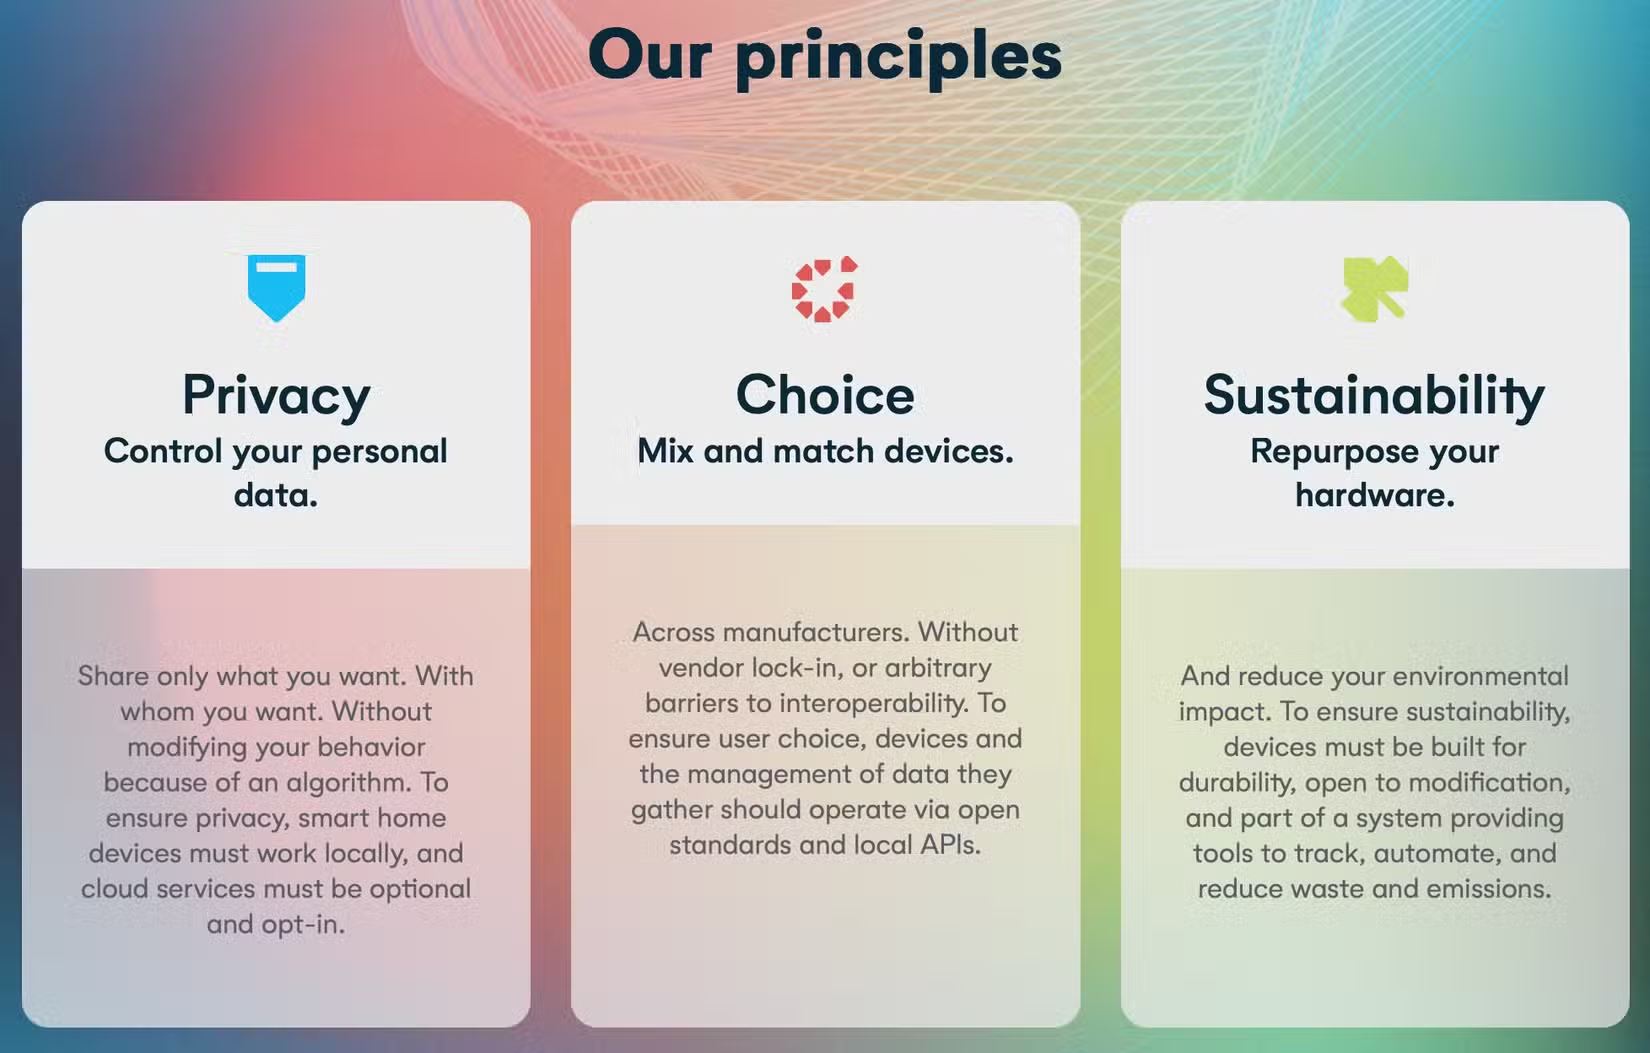
This tight integration means ESPHome devices respond faster than cloud-dependent alternatives. Everything runs locally. Your motion sensor triggers your lights without any internet round trip.
Getting Started
You need three things: an ESP32 or compatible microcontroller, a USB data cable, and a Chromium-based browser. The official ESPHome website hosts the web flasher.
- Connect your microcontroller to your computer via USB
- Open the ESPHome web flasher in Chrome or Edge
- Select your device type and desired project
- Click Connect and follow the prompts
- Add the device to Home Assistant when it appears
For custom projects, you'll edit YAML configuration files that define sensors, switches, and automations. ESPHome's documentation includes examples for hundreds of components.
When ESPHome Makes Sense
✅ Pros
- • No cloud dependency, everything runs locally
- • Hardware costs as low as $5 per device
- • No coding required for ready-made projects
- • Direct Home Assistant integration
- • Active community with extensive documentation
❌ Cons
- • Custom projects require YAML familiarity
- • Advanced builds need soldering skills
- • Not a plug-and-play consumer product
- • Requires Home Assistant for full functionality
Logicity's Take
Frequently Asked Questions
Do I need programming experience to use ESPHome?
No. Ready-made projects work through browser-based flashing with no code. Custom projects use YAML configuration files, which are more like filling out forms than traditional programming.
Can ESPHome work without Home Assistant?
ESPHome devices can function standalone or with other platforms, but the native integration with Home Assistant is where the framework shines. You lose significant functionality without it.
How does ESPHome compare to Tasmota?
Both flash custom firmware to ESP devices. Tasmota focuses on repurposing commercial devices. ESPHome focuses on building from scratch with deeper Home Assistant integration.
What's the cheapest way to start with ESPHome?
A $5 XIAO ESP32-C3 from Seeed Studio plus a USB cable you already own. Flash it as a Bluetooth proxy to extend your Home Assistant's Bluetooth range.
Another practical DIY project for repurposing hardware
Security considerations for networked devices
Need Help Implementing This?
Source: How-To Geek
Huma Shazia
Senior AI & Tech Writer
Produced with AI assistance and reviewed by the Logicity editorial team. Learn more in our Editorial Policy.