5 Sound-Reactive ESP32 Projects to Build This Weekend
Key Takeaways
- ESP32 boards like the XIAO ESP32-C3 cost as little as $5 and include Wi-Fi and Bluetooth
- Sound-reactive projects range from party lights to practical Home Assistant integrations
- Most projects need just a cheap microphone and a few additional components
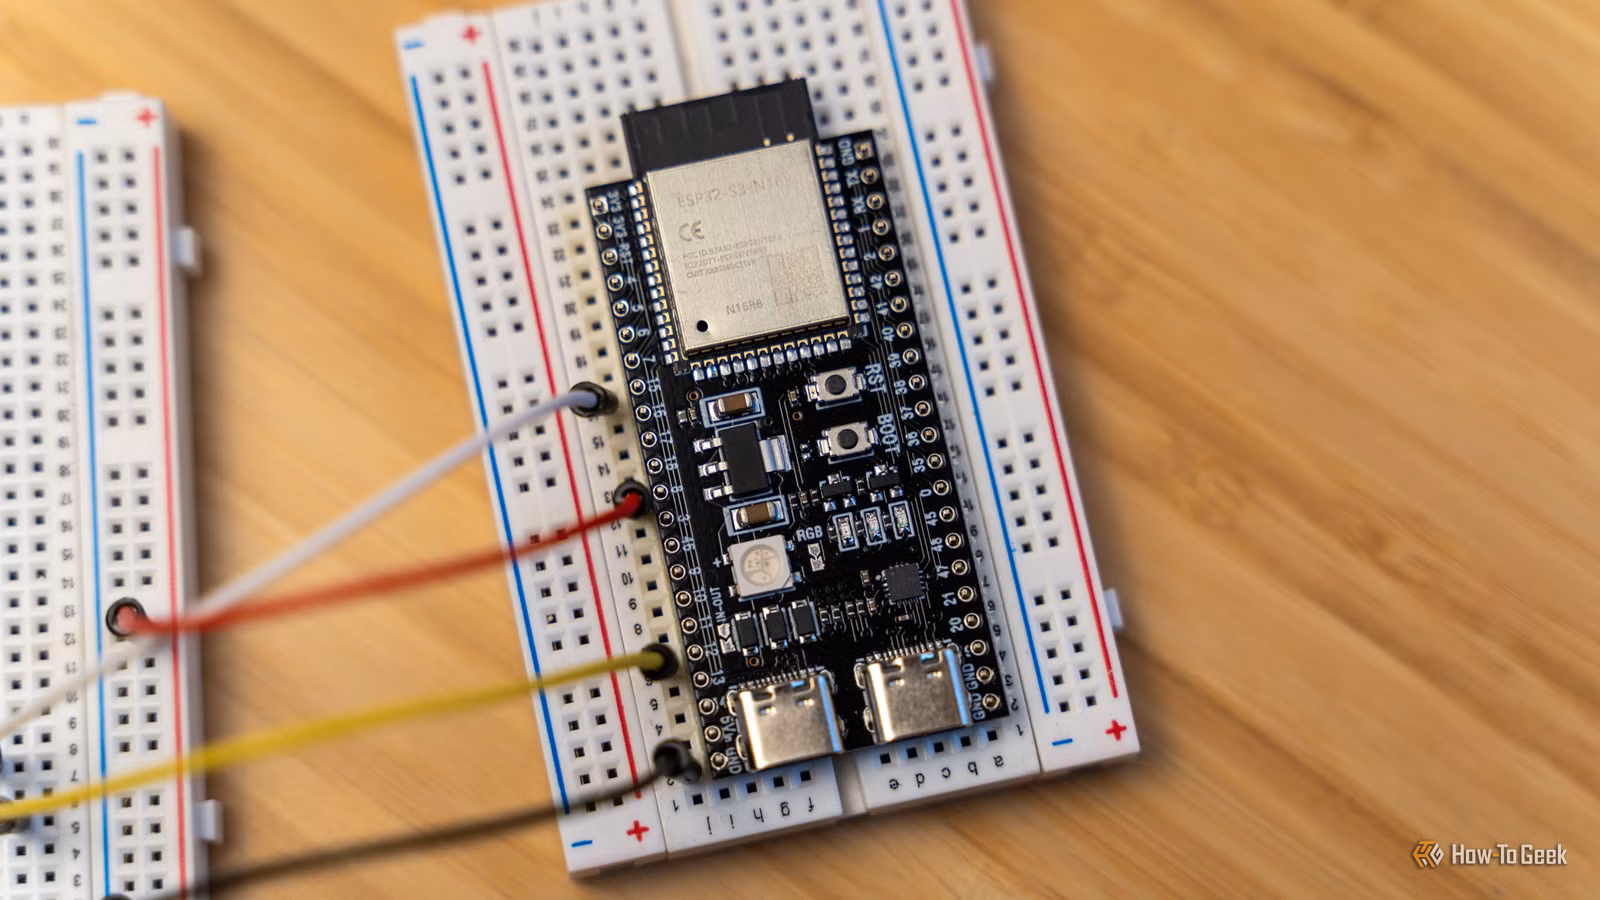
The ESP32 has become the go-to microcontroller for hobbyists building low-power sensors and smart home gadgets. Add a cheap microphone, and suddenly your $5 board can react to music, detect specific sounds, or measure ambient noise levels. Here are five projects worth tackling this weekend.
The Hardware: Cheap Boards That Pack a Punch
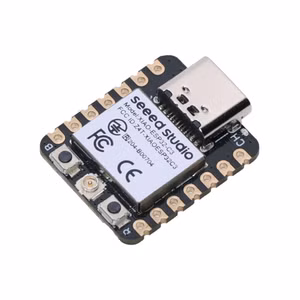
Before diving into projects, you need a board. The Seeed Studio XIAO ESP32-C3 hits the sweet spot for most builders. At $5 from Seeed Studio ($10 on Amazon), it includes Wi-Fi, Bluetooth, and a deep sleep mode that sips power when idle. The compact size makes it ideal for tucking into enclosures.
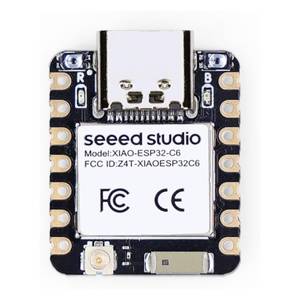
For more connectivity options, the XIAO ESP32-C6 adds Zigbee, Thread, and Matter support alongside Wi-Fi 6. It costs the same $5 from Seeed Studio or $12 on Amazon. Both boards work with ESPHome for easy Home Assistant integration.
Project 1: Portable Party Lights
This Instructables project creates a fully portable sound-reactive light show. The original guide uses a Leaflabs Leaf Maple Mini STM32F103RCBT6, but the author notes an ESP32 works as a drop-in replacement with better capabilities.
The build requires a graphic equalizer chip, a cheap microphone, an optional servo for movement, an LED driver board, and a 5,000mAh battery pack for true portability. Add the usual resistors, capacitors, wires, and a 3D-printed enclosure, and you have party lights that travel with you.
Project 2: Sound Event Detection for Home Assistant
Seeed Studio's sound detection project turns your ESP32 into an audio classifier for Home Assistant. The board listens for specific sounds, such as glass breaking, smoke alarms, or doorbells, and triggers automations based on what it hears.
This goes beyond simple volume triggers. The ESP32 processes audio locally using machine learning models, so it can distinguish between a dog barking and a baby crying. No cloud processing required.
Project 3: DeciBee Loudness Meter
The DeciBee by ymyke on MakerWorld is a 3D-printed sound level meter powered by an ESP32. It displays real-time decibel readings on a small screen, useful for monitoring noise levels in workshops, offices, or anywhere ambient sound matters.
The project includes full STL files for the case and firmware for the ESP32. Build time is minimal if you already have a 3D printer and basic soldering skills.
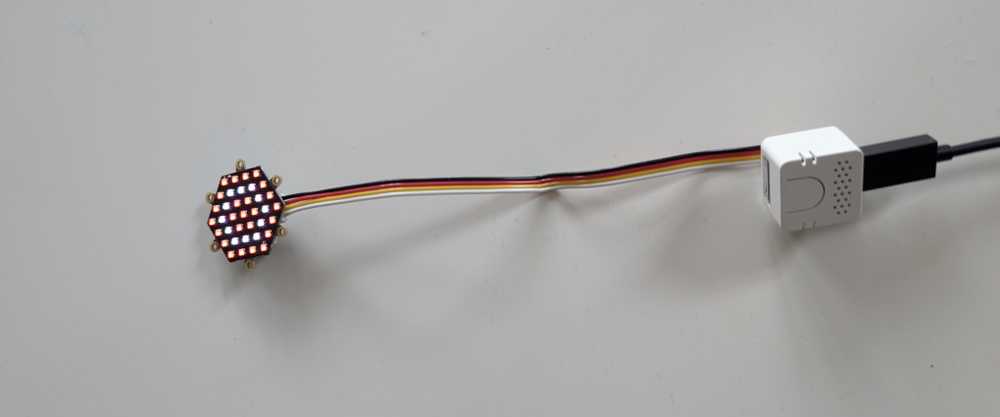
Project 4: WLED Sound Reactive LED Strips
WLED is the open-source firmware that powers countless LED strip installations. The sound-reactive fork adds audio visualization, turning addressable LED strips into displays that pulse, flash, and animate to music.
You need an ESP32, a microphone module (the INMP441 is popular), and an addressable LED strip like WS2812B. The software handles everything else, offering dozens of visualization modes out of the box.
Project 5: Clap-Controlled Smart Switch
Sometimes simple is best. A clap-controlled switch detects sharp sounds and toggles a relay, letting you turn lights on and off with a double clap. The ESP32's Wi-Fi means you can also control it remotely or integrate it with Home Assistant for scheduling.
This project requires an ESP32, a microphone module, and a relay board. Total cost sits around $15 if you buy components separately. The code is straightforward enough for beginners learning the Arduino IDE.
Getting Started
All five projects use the Arduino IDE for programming. If you are new to ESP32 development, start with the WLED project. It has the best documentation and an active community for troubleshooting.
For Home Assistant users, ESPHome offers a code-free approach to many ESP32 projects. You define sensors and behaviors in YAML files, and ESPHome compiles and flashes the firmware for you.
More weekend hardware projects with practical payoff
Logicity's Take
Frequently Asked Questions
Which ESP32 board is best for beginners?
The Seeed Studio XIAO ESP32-C3 at $5 offers Wi-Fi, Bluetooth, and excellent documentation. Its compact size makes it forgiving for first projects.
Do I need to know how to code to build these projects?
Most projects provide ready-made firmware you can flash directly. WLED and ESPHome both minimize or eliminate coding. Learning the Arduino IDE basics helps for customization.
What microphone works best with ESP32?
The INMP441 I2S microphone is popular for audio visualization projects. It connects digitally and provides cleaner signal than analog alternatives.
Can these projects integrate with smart home systems?
Yes. ESPHome makes Home Assistant integration straightforward. WLED also supports Home Assistant, MQTT, and various other platforms.
Need Help Implementing This?
Source: How-To Geek
Huma Shazia
Senior AI & Tech Writer
Related Articles
Browse all
How to Jailbreak Your Kindle: Escape Amazon's Control Before They Brick Your E-Reader
Amazon is cutting off support for older Kindles starting May 2026, but you don't have to buy a new device. Jailbreaking your Kindle lets you install custom software like KOReader, read ePub files natively, and keep your e-reader alive for years to come.
X-Sense Smoke and CO Detectors at Home Depot: UL-Certified Alarms You Can Actually Trust
X-Sense just made their UL-certified smoke and carbon monoxide detectors available at Home Depot stores nationwide. The lineup includes wireless interconnected models that can link up to 24 units, 10-year sealed batteries, and smart features designed to cut down on those annoying false alarms that make people disable their detectors entirely.
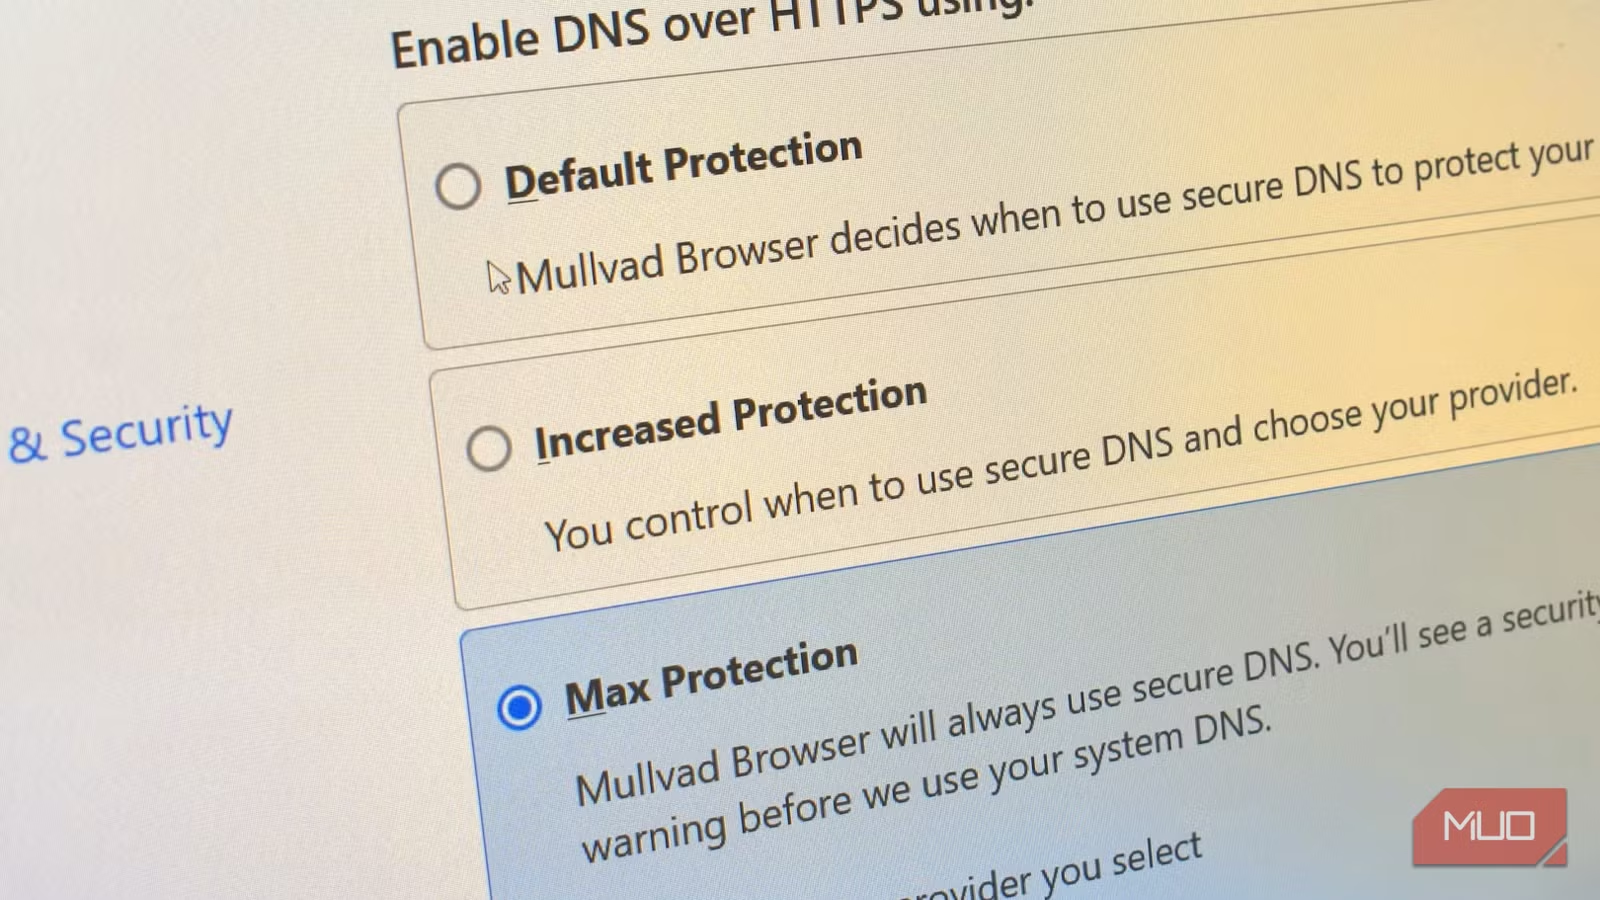
How to Change Your Browser's DNS Settings for Faster, Private Browsing in 2026
Your browser's default DNS settings are probably slowing you down and leaking your browsing history to your ISP. Here's why changing this one setting should be the first thing you do on any new device, and how to pick the right DNS provider for your needs.
Raspberry Pi at 15: Why the King of Single-Board Computers Is Losing Its Crown
After 15 years of dominating the hobbyist computing scene, the Raspberry Pi faces serious competition from cheaper alternatives, supply chain headaches, and a market that's evolved past its original mission. Here's what's happening and what it means for your next project.
Also Read

5 Pixel Settings to Disable for Better Battery Life
Google's Pixel phones ship with convenience features that drain battery in the background. Here are five settings to turn off in your first hour with the phone, plus smarter alternatives that preserve the functionality without the power cost.

Riot's Vanguard Anti-Cheat Now Detects $6,000 DMA Hardware
Riot Games has upgraded its Vanguard anti-cheat to detect Direct Memory Access (DMA) cards, hardware devices that cheaters use to bypass kernel-level protection. The company celebrated on X by mocking players who spent thousands on now-useless cheating hardware.

Wizards of the Coast Sends Daily Anti-Union Emails to Workers
Employees at Wizards of the Coast report receiving daily emails and now physical letters at home discouraging them from unionizing. The Magic: The Gathering Arena team announced their intent to form a union in late April, and after Hasbro declined to voluntarily recognize it, the vote now proceeds through the National Labor Relations Board.