5 projects for the $4 ESP32 chip that's outselling Raspberry Pi
Key Takeaways
- The ESP32 costs around $4 compared to $35+ for a Raspberry Pi, making it ideal for distributed sensor networks
- ESPHome firmware lets you configure ESP32 devices in YAML without writing C++ code
- The ESP32-CAM variant adds a 2MP camera module for DIY security cameras at pocket-change prices
The ESP32 costs about $4, includes Wi-Fi and Bluetooth on the chip, and has quietly become the default choice for DIY electronics projects. While the Raspberry Pi still dominates headlines, Espressif's tiny microcontroller outsells it in raw unit volume. The reason is simple: for sensor networks, home automation, and embedded projects, you don't need a full Linux computer. You need something cheap that connects to your network.
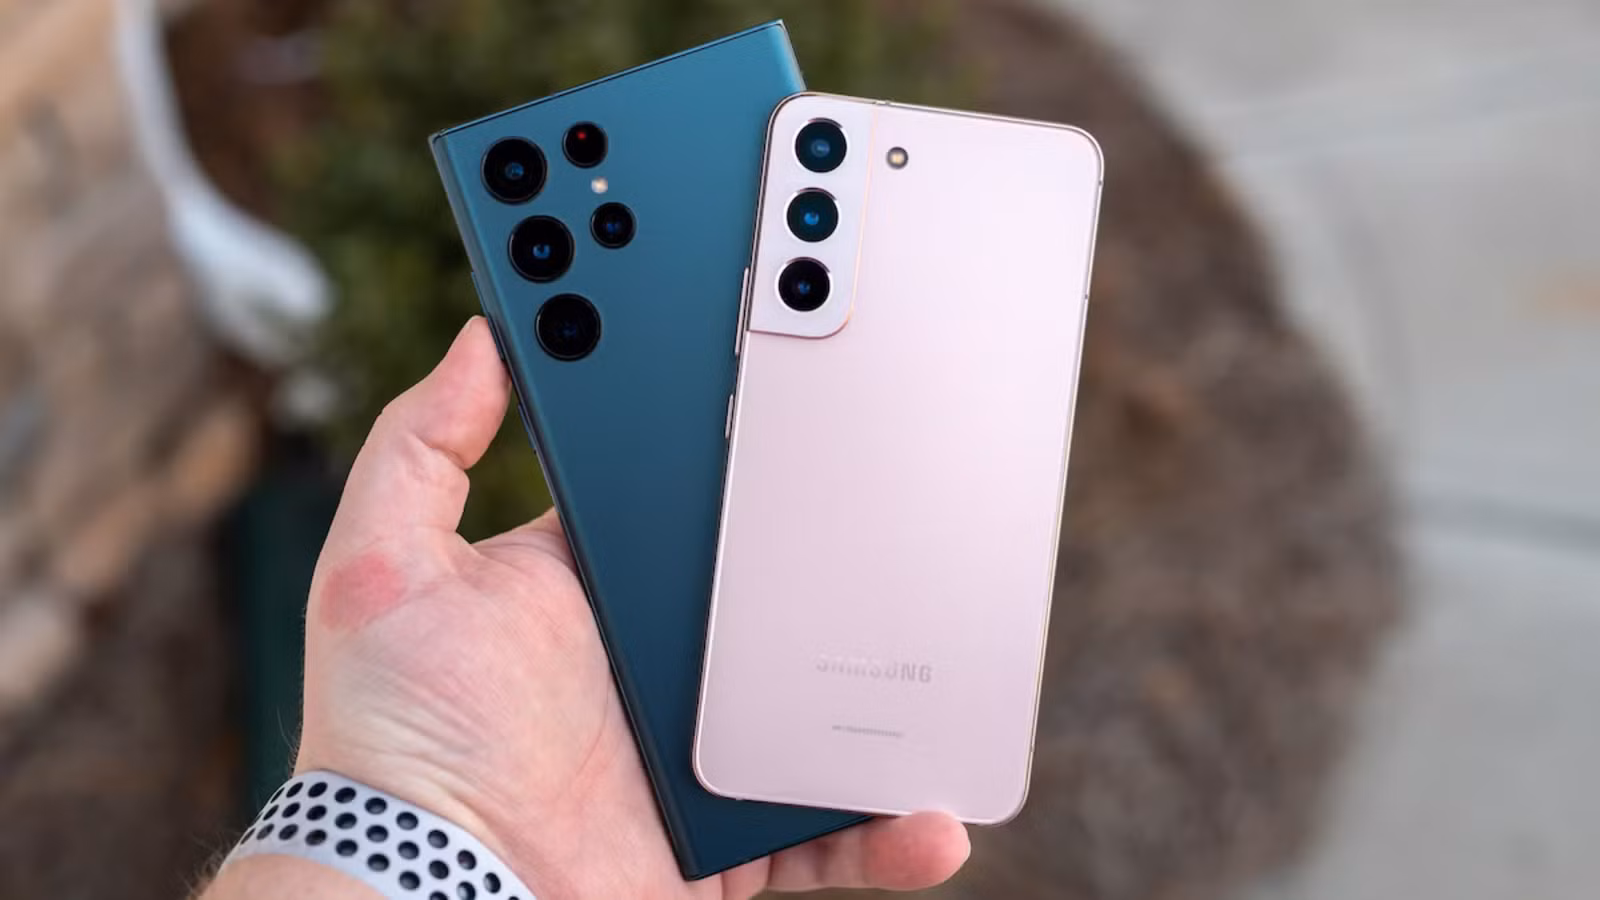
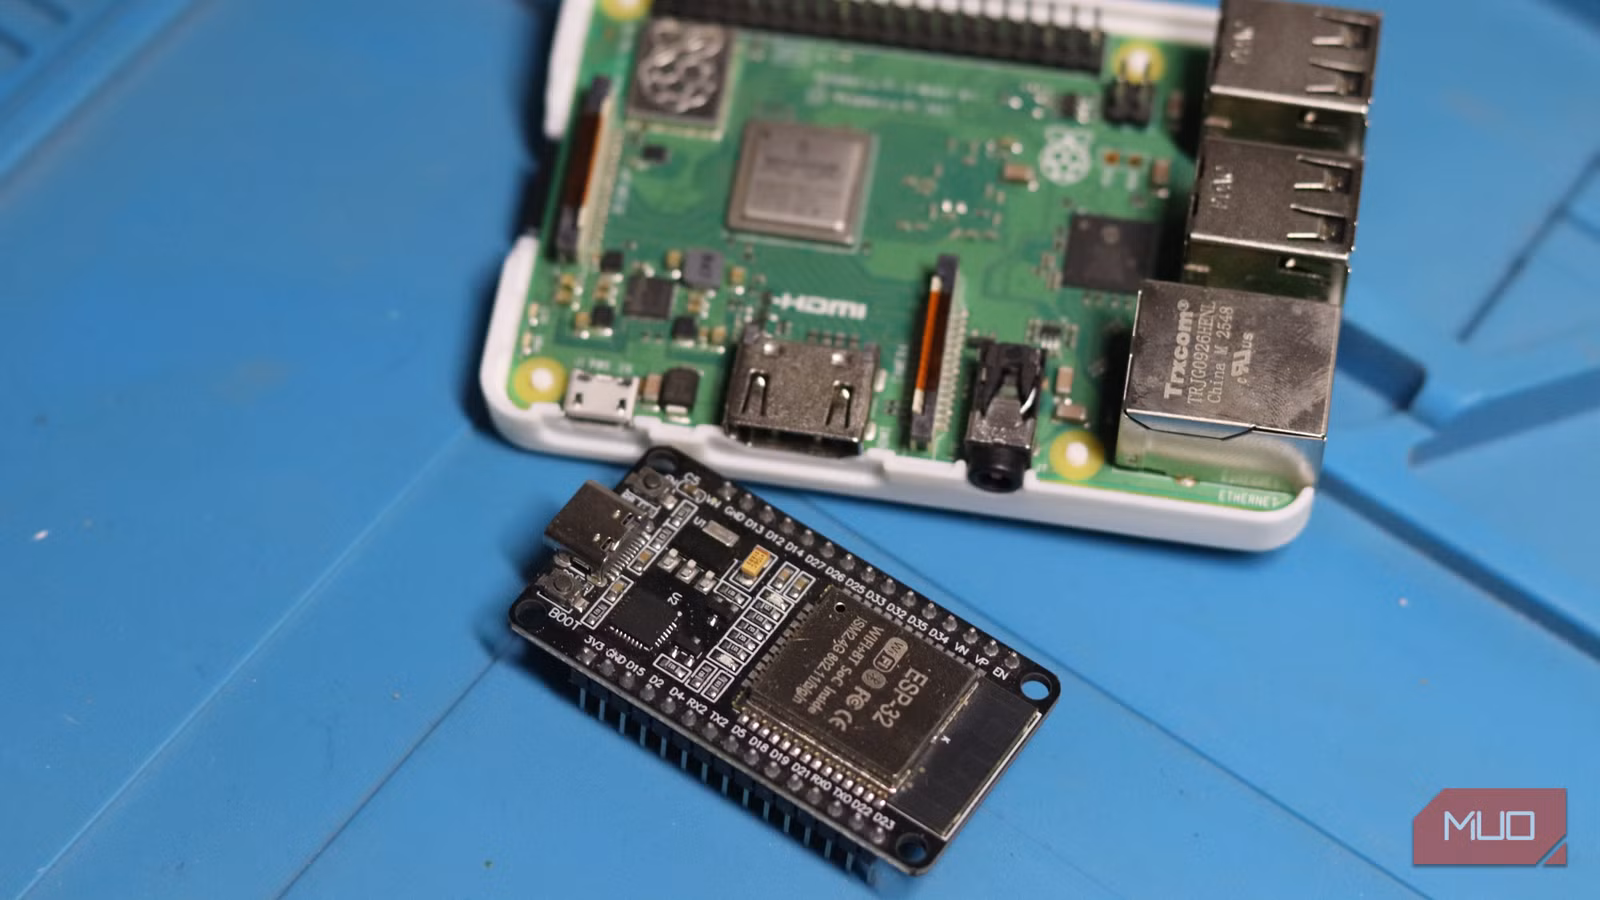
The Raspberry Pi has drifted from its budget roots. A Pi 5 now runs $60 or more. The ESP32, by contrast, delivers a 240 MHz dual-core processor with 520 KB of SRAM for under $5. It won't run Linux or host your Plex server, but for IoT applications, it's overkill in a good way.
Here are five practical builds that show what this chip can actually do.
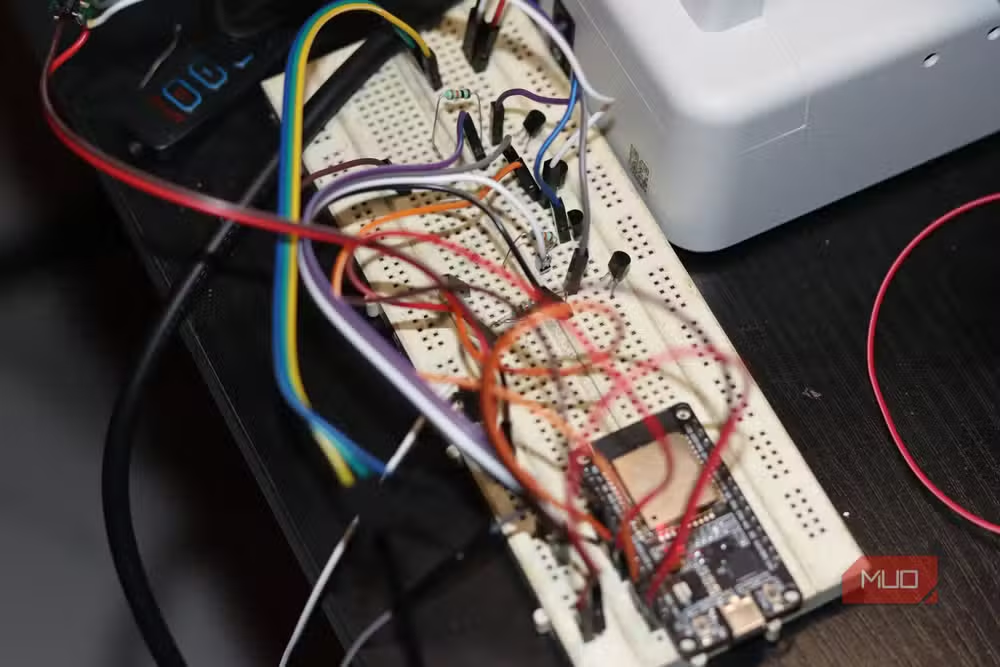
Build a desk weather station
A weather station makes a solid first ESP32 project. Wire up a DHT22 temperature sensor, a small OLED screen, and a push button to cycle through readings. The ESP32 connects to your home Wi-Fi, reads the sensor, and displays ambient temperature and humidity.
Most builds also pull live weather data from free APIs like OpenWeatherMap. The ESP32 parses the JSON response and renders both indoor and outdoor readings on the screen. Total parts cost: maybe $12.
Take it further by sending temperature data to Home Assistant. From there, you can trigger automations, like turning on a fan when indoor temperature crosses a threshold.
Turn your home into a sensor network with ESPHome
If you run Home Assistant, ESPHome turns ESP32 devices into plug-and-play sensors. ESPHome is a firmware generator that lets you describe your hardware in a YAML configuration file. No C++, no Arduino libraries, no manual Wi-Fi reconnection logic. Define your sensor, hit install, and the device auto-discovers itself in Home Assistant.
The economics here matter. A $4 ESP32, a $1 BME280 environmental sensor, and a $2 relay module become a smart switch that reads temperature, humidity, and air pressure. It can automatically trigger your ceiling fan when conditions warrant. That's a $7 sensor node versus $30+ for off-the-shelf Zigbee alternatives.
ESPHome's native Home Assistant API maintains a persistent connection rather than polling. State changes push almost instantly. If your smart home has become a fragmented mess of proprietary sensors, building your own with ESP32 boards consolidates everything under one protocol.
Another no-code approach to automating workflows
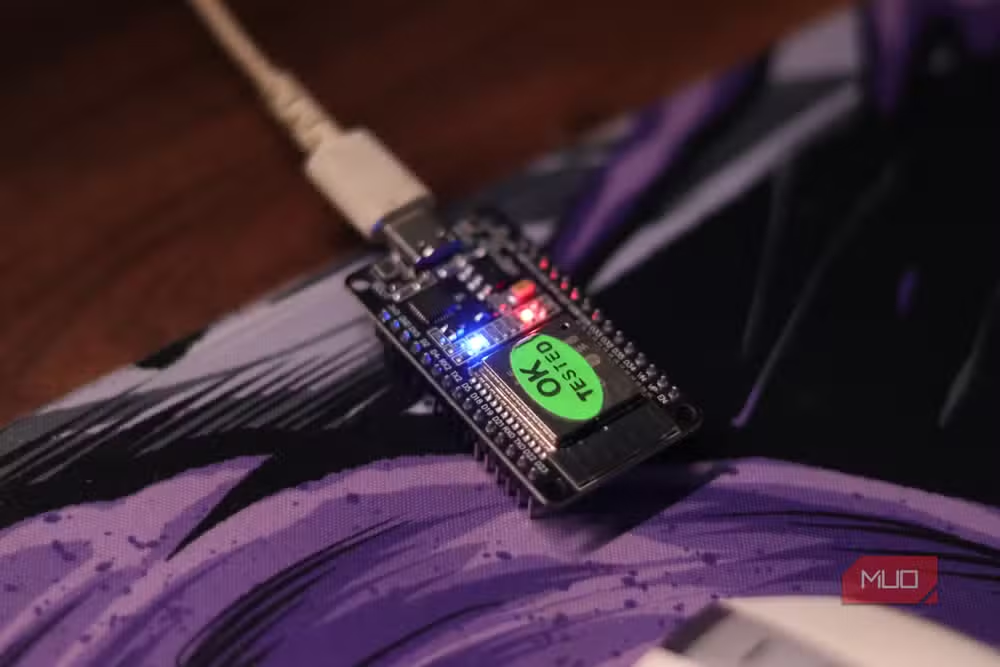
Create a wireless security camera for pocket change
The ESP32-CAM variant adds a compact OV2640 2MP camera module and a microSD card slot. It's purpose-built for surveillance projects and costs around $8.
Flash it with stock firmware and you get a basic video stream over Wi-Fi. The resolution won't match a $100 Wyze camera, but for monitoring a 3D printer, watching a pet, or adding a second angle to your doorbell setup, 2MP works fine. The footage saves to the microSD card or streams directly to your network.
Power consumption stays low enough that battery operation is feasible for intermittent monitoring. A solar panel and small LiPo battery can keep an ESP32-CAM running indefinitely for outdoor use cases.
Which ESP32 variant should you buy?
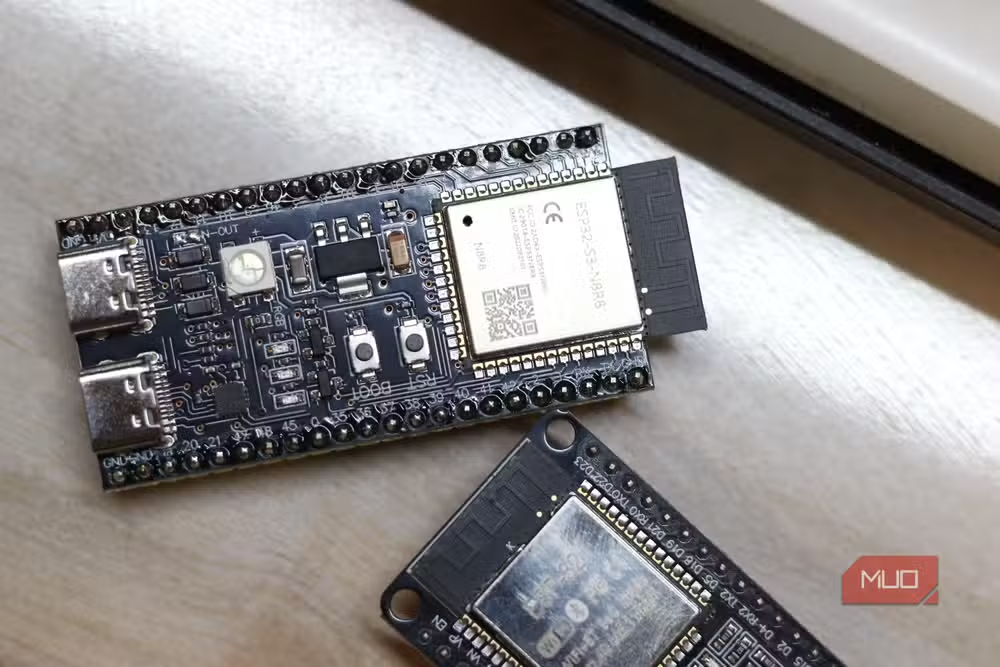
Espressif sells several versions. The original ESP32 handles most projects. The ESP32-S3 adds USB-OTG and better AI acceleration for machine learning at the edge. The ESP32-CAM includes the camera module. For pure sensor work, the baseline board is plenty.
All variants share 34 GPIO pins, enough to connect multiple sensors, displays, and actuators simultaneously. Wi-Fi and Bluetooth come standard. Development happens in Arduino IDE, PlatformIO, or ESPHome depending on your comfort level with code.
ESP32 vs Raspberry Pi: when to use which
The ESP32 is a microcontroller. It runs one program in a loop, forever. It boots in milliseconds, draws milliamps of current, and costs almost nothing. Use it for sensors, actuators, and any project where reliability trumps flexibility.
The Raspberry Pi is a full computer. It runs Linux, hosts multiple processes, and handles complex software. Use it when you need a web server, a database, or anything requiring an operating system. A $50 Pi can replace your smart home hub. But ESP32s populate the sensors feeding data to that hub.
The ideal home automation setup uses both: a Pi running Home Assistant as the brain, and a fleet of ESP32 nodes as the nervous system.
Getting started with your first ESP32 project
Buy a development board from Amazon, AliExpress, or Adafruit. Expect to pay $4-8 depending on the variant and shipping speed. Download Arduino IDE or PlatformIO. Flash the blink example. Once the onboard LED responds to your code, you're ready for real projects.
For Home Assistant users, ESPHome eliminates most of the learning curve. The YAML configuration is declarative: you describe what you want, not how to implement it. The compiled firmware handles Wi-Fi, reconnection, and Home Assistant integration automatically.
Logicity's Take
The ESP32's real value isn't the $4 price tag. It's what that price enables: you can deploy dozens of sensors without budgetary guilt. A single Raspberry Pi costs more than ten ESP32 boards. That ratio changes how you think about home automation. Instead of one expensive multi-sensor, you scatter cheap single-purpose nodes everywhere. The network effect compounds.
Frequently Asked Questions
Can the ESP32 replace a Raspberry Pi?
No. The ESP32 is a microcontroller that runs one program continuously. It cannot run Linux or host multiple applications. Use it for sensors and automation; use a Pi when you need a full operating system.
How much does an ESP32 cost?
Development boards typically cost $4-8 depending on the variant. The ESP32-CAM with a camera module runs around $8. Bulk orders from AliExpress can drop prices below $3 per unit.
What programming language does ESP32 use?
Most projects use C++ via the Arduino IDE or PlatformIO. ESPHome lets you skip coding entirely by configuring devices in YAML. MicroPython is another option for those who prefer Python syntax.
Does the ESP32 work with Home Assistant?
Yes. ESPHome provides native Home Assistant integration. Devices auto-discover on your network and maintain persistent connections for near-instant state updates.
What's the difference between ESP32 and ESP8266?
The ESP32 is the newer, more powerful chip with dual cores, Bluetooth support, and more GPIO pins. The ESP8266 is older and cheaper but limited to Wi-Fi only. For new projects, start with ESP32.
Need Help Implementing This?
Building a home sensor network or evaluating ESP32 for your product? Our team at Logicity can help you architect the right solution. Contact us for consulting on IoT deployments, Home Assistant integration, or custom firmware development.
Source: MakeUseOf
Manaal Khan
Tech & Innovation Writer
Related Articles
Browse all
How to Jailbreak Your Kindle: Escape Amazon's Control Before They Brick Your E-Reader
Amazon is cutting off support for older Kindles starting May 2026, but you don't have to buy a new device. Jailbreaking your Kindle lets you install custom software like KOReader, read ePub files natively, and keep your e-reader alive for years to come.
X-Sense Smoke and CO Detectors at Home Depot: UL-Certified Alarms You Can Actually Trust
X-Sense just made their UL-certified smoke and carbon monoxide detectors available at Home Depot stores nationwide. The lineup includes wireless interconnected models that can link up to 24 units, 10-year sealed batteries, and smart features designed to cut down on those annoying false alarms that make people disable their detectors entirely.
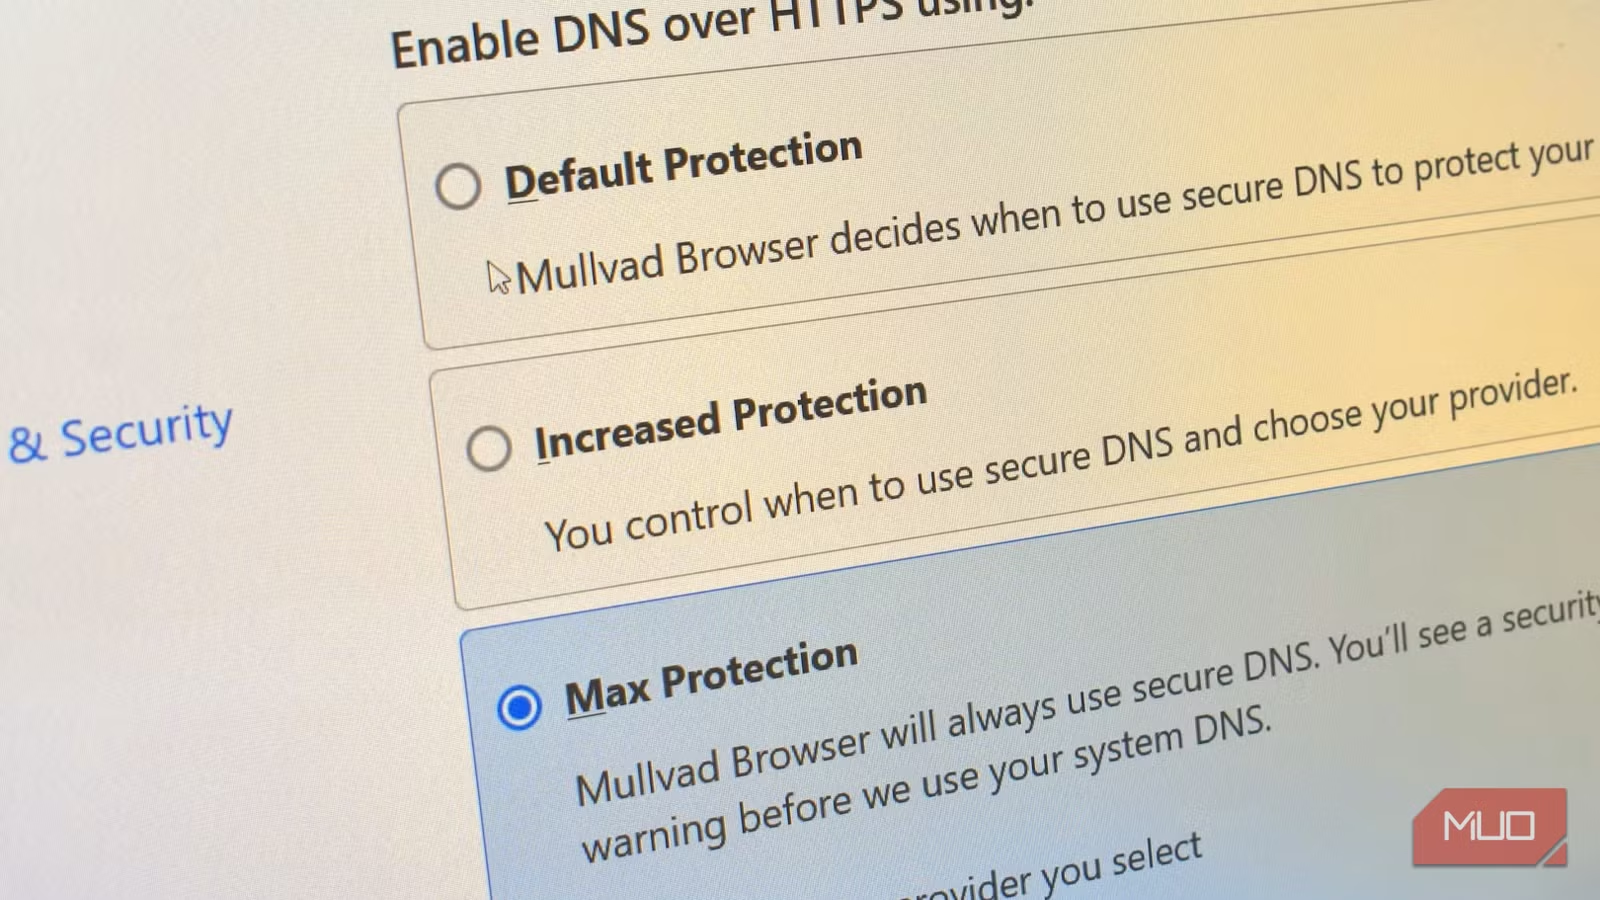
How to Change Your Browser's DNS Settings for Faster, Private Browsing in 2026
Your browser's default DNS settings are probably slowing you down and leaking your browsing history to your ISP. Here's why changing this one setting should be the first thing you do on any new device, and how to pick the right DNS provider for your needs.
Raspberry Pi at 15: Why the King of Single-Board Computers Is Losing Its Crown
After 15 years of dominating the hobbyist computing scene, the Raspberry Pi faces serious competition from cheaper alternatives, supply chain headaches, and a market that's evolved past its original mission. Here's what's happening and what it means for your next project.