Key Takeaways
- Always place your script tag at the end of the body so the HTML loads first
- querySelector is the most versatile method for grabbing elements
- Keep your concerns separated: HTML for structure, CSS for style, JavaScript for behavior
- Use classList methods instead of directly manipulating style properties when possible
- innerHTML parses HTML tags while textContent treats everything as plain text
So you've learned HTML. You've got CSS down. And now you're staring at JavaScript wondering how the heck you're supposed to make your static webpage actually do something. Welcome to the DOM.
The Document Object Model is basically JavaScript's way of seeing your webpage. Think of it as a map of every single element on your page, organized like a family tree. Parents, children, siblings. And once JavaScript can see this tree, it can reach in and change literally anything.
First Things First: Where Does Your Script Go?
This trips up so many beginners. You write some JavaScript, load your page, and nothing works. The console screams at you about elements being null. What gives?
Here's the thing. Your browser reads your HTML file from top to bottom. If it hits your JavaScript before it's finished loading the actual HTML elements, your code is trying to grab things that don't exist yet. It's like trying to pick up a package before the delivery truck arrives.
<!-- Put this at the END of your body tag -->
<body>
    <h1>My Website</h1>
    <p>Some content here</p>

    <!-- Scripts go here, right before </body> -->
    <script src="index.js" charset="utf-8"></script>
</body>Pro Tip
You can also use the 'defer' attribute on your script tag to load it asynchronously, but placing scripts at the end of body is the classic approach that just works.
Grabbing Elements: Your Selection Toolkit
Before you can change anything, you need to grab it. JavaScript gives you several ways to select HTML elements, and honestly, some are way better than others.
querySelector() — The One You'll Use Most
This is the Swiss Army knife of element selection. It uses CSS selector syntax, so if you already know CSS, you already know how to use it. Returns the first matching element.
// Grab by ID
document.querySelector("#main-header");

// Grab by class
document.querySelector(".nav-link");

// Grab by tag
document.querySelector("p");

// Get fancy with it
document.querySelector("div.container > ul li:first-child");
querySelectorAll() — When You Need Multiple Elements
Same syntax, but returns ALL matching elements as a NodeList. Perfect for when you want to loop through a bunch of similar elements.
// Get all paragraphs
const allParagraphs = document.querySelectorAll("p");

// Loop through them
allParagraphs.forEach(p => {
    console.log(p.textContent);
});
The Old School Methods
You'll still see these in legacy code and tutorials. They work fine, but querySelector handles all of these use cases with cleaner syntax.
- getElementById("myId") — grabs one element by its ID
- getElementsByClassName("myClass") — returns an HTMLCollection of elements
- getElementsByTagName("div") — returns elements by their tag name
The kicker? Those getElements methods return live collections that update automatically when the DOM changes. QuerySelector returns static snapshots. For 90% of use cases, that doesn't matter. But it's worth knowing.
Once you've mastered DOM manipulation, you'll want to fetch data from APIs. This guide helps you understand the different protocols you'll encounter.
Changing Styles: Two Approaches
Okay, you've grabbed your element. Now you want to make it red. Or hidden. Or positioned differently. You've got two main options here, and one of them is objectively better practice.
The Direct Approach (Quick and Dirty)
document.querySelector("h1").style.color = "red";
document.querySelector("h1").style.fontSize = "48px";
document.querySelector("h1").style.backgroundColor = "yellow";
This works. But notice something weird? CSS uses kebab-case (background-color) while JavaScript uses camelCase (backgroundColor). You need to convert every property name. Annoying.
The Better Approach: classList
Here's where separation of concerns comes in. Your styles should live in CSS. Your JavaScript should just toggle classes on and off. Way cleaner, way more maintainable.
// Add a class
document.querySelector("h1").classList.add("highlighted");

// Remove a class
document.querySelector("h1").classList.remove("highlighted");

// Toggle (add if missing, remove if present)
document.querySelector("h1").classList.toggle("highlighted");
Now your CSS file handles what "highlighted" looks like. Your JavaScript just decides when to apply it. Beautiful separation.
| Direct Style | classList |
|---|---|
| Inline styles (highest specificity) | Uses CSS classes (normal specificity) |
| Hard to maintain at scale | Easy to maintain and reuse |
| JavaScript controls the look | CSS controls the look |
| Good for dynamic values (animations) | Good for predefined states |
innerHTML vs textContent: Know the Difference
Both of these let you change what's inside an element. But they behave very differently, and picking the wrong one can either break your page or create security vulnerabilities.
// textContent — treats everything as plain text
document.querySelector("h1").textContent = "<em>Hello</em>";
// Result: literally shows "<em>Hello</em>" on the page

// innerHTML — parses and renders HTML tags
document.querySelector("h1").innerHTML = "<em>Hello</em>";
// Result: shows "Hello" in italicsSecurity Warning
Never use innerHTML with user-provided input! It can execute malicious scripts. If you're displaying user content, stick with textContent or sanitize the input first.
Working with Attributes
Every HTML element has attributes. The href on your links, the src on your images, data attributes, you name it. JavaScript lets you read and modify all of them.
const link = document.querySelector("a");

// Get an attribute value
const currentHref = link.getAttribute("href");

// Set or update an attribute
link.setAttribute("href", "https://logicity.in");

// See all attributes on an element
console.log(link.attributes);
This is huge for things like dynamically changing image sources, updating links based on user actions, or working with data attributes to store information in your HTML.
A Quick Reference Cheat Sheet
- Selection: Use querySelector for single elements, querySelectorAll for multiple
- Styles: Prefer classList.add/remove/toggle over direct style manipulation
- Content: Use textContent for plain text, innerHTML only when you need HTML parsing
- Attributes: getAttribute reads them, setAttribute writes them
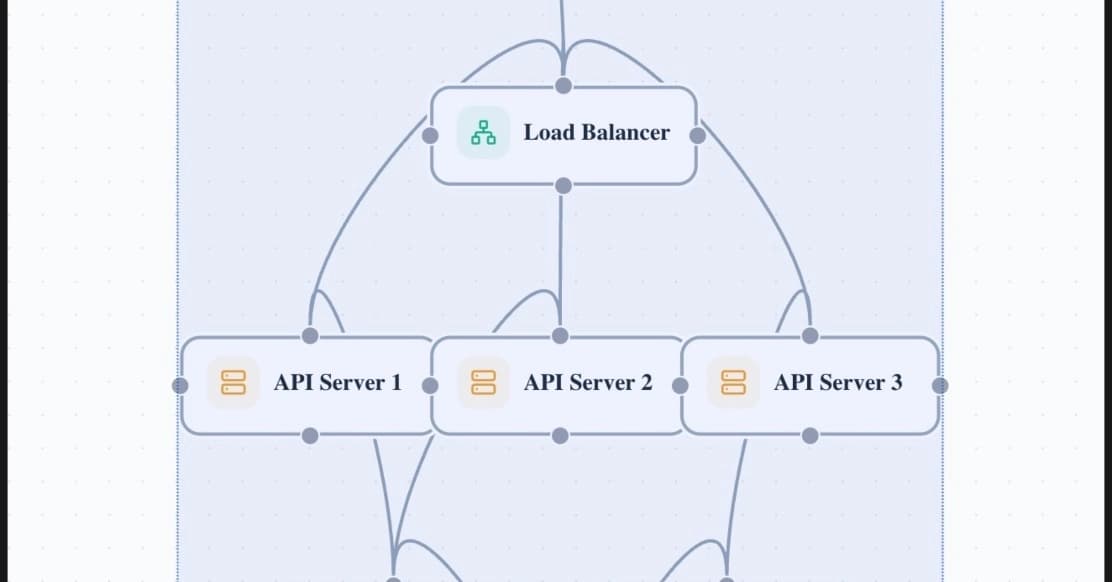
After learning DOM basics, building a real project helps cement these skills. This dashboard tutorial is a solid next step.
Tools That Help
Visualizing the DOM can make this stuff click way faster. The HTML Tree Generator Chrome extension lets you see your page's DOM structure as an actual tree. Super helpful when you're trying to figure out parent-child relationships or debug why your selector isn't working.
Frequently Asked Questions
Why does my querySelector return null?
Your script is probably running before the HTML loads. Move your script tag to the end of the body, or wrap your code in a DOMContentLoaded event listener.
Should I use getElementById or querySelector for IDs?
Either works. querySelector is more flexible since it handles all selector types with one method. getElementById is microscopically faster, but you won't notice the difference.
Can I chain querySelector calls?
Yes! You can call querySelector on any element, not just document. So element.querySelector('.child') only searches within that element.
What's the difference between NodeList and HTMLCollection?
NodeList (from querySelectorAll) has forEach built in. HTMLCollection (from getElementsByClassName) doesn't. NodeList is also static while HTMLCollection updates live.
What's Next?
DOM manipulation is just the foundation. Once you're comfortable selecting and modifying elements, you'll want to learn about event listeners. That's where you make things respond to clicks, key presses, form submissions, and everything else that makes a website feel alive.
But don't rush it. Spend some time in your browser's dev tools. Inspect elements. Try selecting them with different methods. Change their styles and content right there in the console. The more you play with the DOM directly, the more intuitive this all becomes.
And honestly? This is where JavaScript starts getting fun. You're not just writing code anymore. You're making things happen on screen, in real time. That's the whole point.
Source: DEV Community
Manaal Khan
Tech & Innovation Writer
Produced with AI assistance and reviewed by the Logicity editorial team. Learn more in our Editorial Policy.