5 3D-Printed Mechanical Keyboard Projects to Build This Weekend

Key Takeaways
- All five keyboard designs are free to download with accompanying firmware and build videos
- Projects range from a 16-key macropad for beginners to a 44-key split ergonomic board for experienced builders
- Handwiring these keyboards requires basic soldering skills and components like Arduino Pro Micro controllers
Mechanical keyboards tend to become an obsession. Many enthusiasts eventually build their own, but fewer take on 3D printing the entire thing from scratch. If you have a printer, some soldering skills, and a weekend to spare, these five projects from creator Joe Scotto offer a solid starting point.
Scotto has been sharing his keyboard designs online since 2021. Every project includes free 3D printing files, firmware, written build guides, and usually a video walkthrough. You can find everything on the ScottoKeebs website and his GitHub repository.
What You Need to Know About Handwiring
All five projects featured here use handwiring rather than pre-made PCBs. This means you create the key matrix yourself using copper wire and heat-shrink tubing to insulate crossovers. It's more work than a drop-in PCB, but it's cheaper and gives you complete control over the layout.
If you've never handwired before, Scotto's video explainer walks through the process step by step. Start with a smaller project before attempting a full keyboard.
Scotto16: A Simple 4x4 Macropad
The Scotto16 is a 16-key macropad in a clean 4x4 grid. It's designed around Akko Lavender Purple MX switches and an Arduino Pro Micro RP2040 microcontroller. This is a good first project. The matrix is small enough to be manageable, and you'll have a functional tool when you're done.
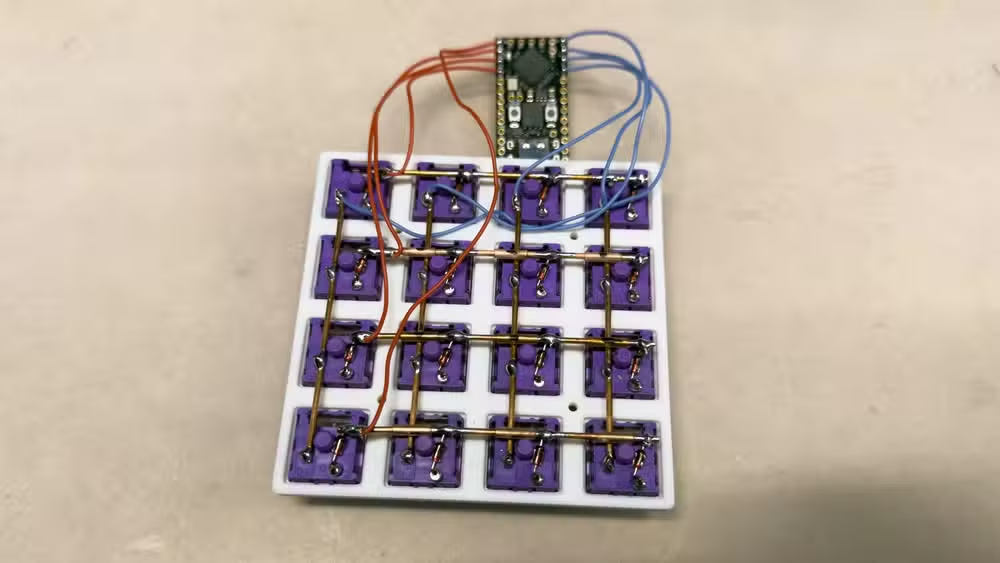
Macropads are useful for shortcuts in video editing software, streaming controls, or any workflow where you want dedicated physical buttons. Sixteen keys gives you enough room to be useful without overwhelming complexity.
ScottoStarter: 52-Key Ortholinear
The ScottoStarter has 52 keys in an ortholinear layout, where keys sit in straight columns rather than the staggered rows of traditional keyboards. Despite having fewer keys than a standard board, it's designed to ease the transition from larger keyboards.
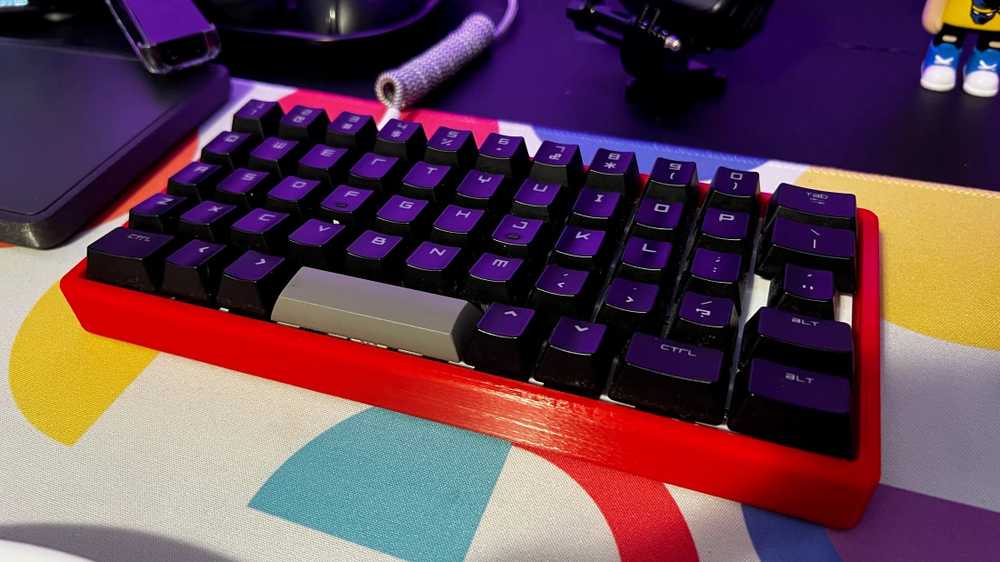
This build uses an ATmega32U4 Arduino Pro Micro, MX switches, 44 standard 1u keycaps, seven larger 1.5u keycaps, and a single 3u keycap for the spacebar. The matrix is larger than the Scotto16 but still approachable for someone with a completed macropad under their belt.
Scotto44: Split Ergonomic Board
The Scotto44 is a split ergonomic keyboard with 44 keys divided between two halves. Split keyboards let you position each half at shoulder width, reducing strain on your wrists and shoulders during long typing sessions.
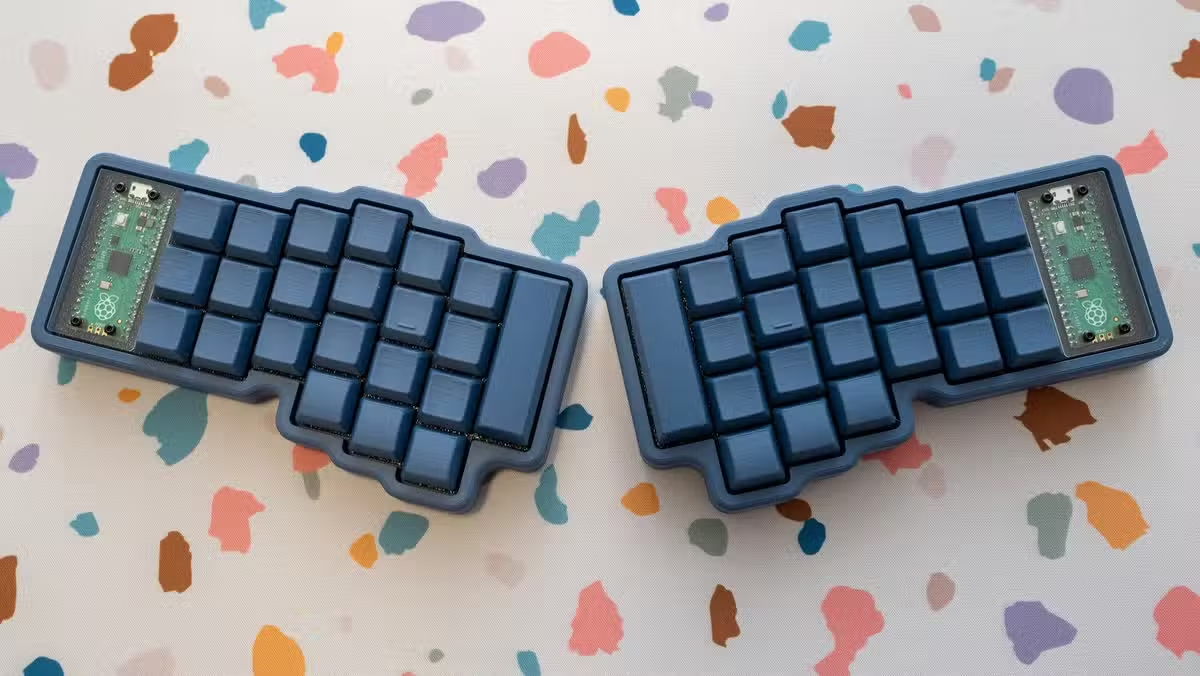
This is a more advanced build. You're essentially creating two separate keyboards that communicate with each other. The wiring is more complex, and you'll need to print cases for both halves. But if you've completed the previous projects, you'll have the skills to tackle it.
Microcontroller Options
Most of Scotto's designs use Arduino Pro Micro variants. The ATmega32U4 version works for smaller boards, while the RP2040 variant offers more processing power for larger matrices or additional features. Both are inexpensive and widely available.

Some builders prefer the Raspberry Pi Pico for its lower cost and broader availability. Scotto's firmware supports multiple controller options, so you can often substitute based on what you have on hand.
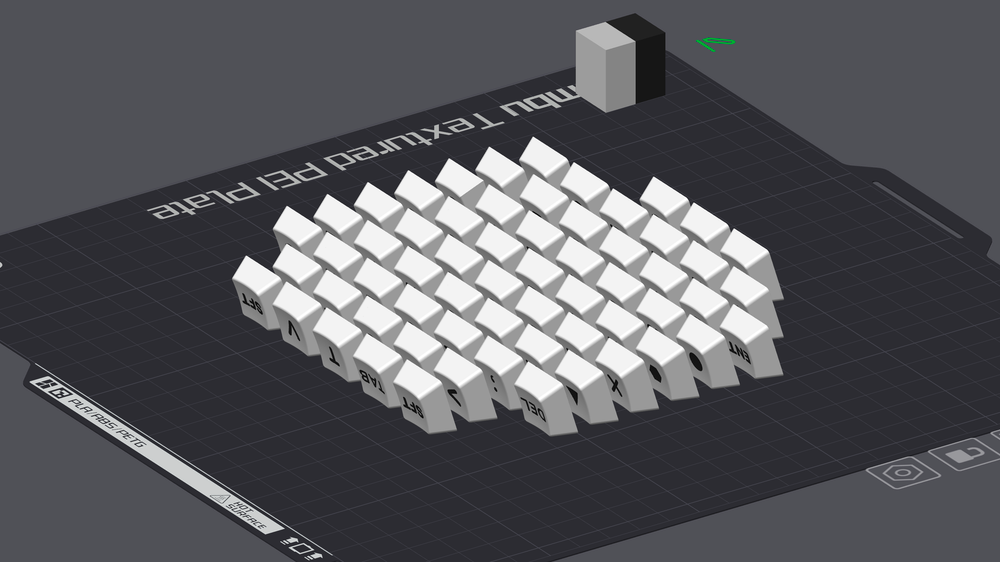
ScottoCaps: Print Your Own Keycaps
If you want to go all-in on the DIY approach, Scotto also offers ScottoCaps, 3D-printable keycap designs. The scooped variant has a slight concave surface that helps your fingers find home position. These won't match the feel of injection-molded PBT keycaps, but they work and they're free.
Printer Requirements
You don't need an expensive printer for these projects. A basic FDM printer with a bed size around 180mm x 180mm can handle most of the cases. The Bambu Labs A1 Mini or similar entry-level machines work fine. Print in PLA or PETG. ABS is overkill for keyboard cases.
Logicity's Take
Frequently Asked Questions
How much does it cost to 3D print a mechanical keyboard?
Filament for a keyboard case typically costs $5 to $15. Add $20 to $40 for switches, $15 to $30 for keycaps, and $5 to $15 for a microcontroller. Total build cost ranges from $50 to $100 depending on components.
Do I need soldering experience to build a handwired keyboard?
Yes, handwiring requires basic soldering skills. You'll be soldering diodes, wires, and connections to the microcontroller. Practice on a cheap kit first if you've never soldered before.
What software runs on these 3D-printed keyboards?
Most use QMK or Vial firmware, which let you customize key mappings, create macros, and program multiple layers. Scotto provides pre-configured firmware files for each design.
Can I use any mechanical switches with these designs?
Most ScottoKeebs designs support MX-style switches, which covers the vast majority of mechanical switches on the market. Check the specific build guide for any restrictions.
How long does it take to build a handwired keyboard?
A simple macropad takes 2 to 4 hours for someone with basic experience. A full 52-key board might take 8 to 12 hours spread across a weekend, including print time.
More weekend 3D printing projects for your gaming setup
Additional weekend tech projects for hands-on builders
Need Help Implementing This?
Source: How-To Geek
Manaal Khan
Tech & Innovation Writer
اقرأ أيضاً

رأي مغاير: كيف يؤثر اختراق الأمن الداخلي الأميركي على شركاتنا الخاصة؟
في ظل اختراق عقود الأمن الداخلي الأميركي مع شركات خاصة، نناقش تأثير هذا الاختراق على مستقبل الأمن السيبراني. نستعرض الإحصاءات الموثوقة ونناقش كيف يمكن للشركات الخاصة أن تتعامل مع هذا التهديد. استمتع بقراءة هذا التحليل العميق

الإنسان في زمن ما بعد الوجود البشري: نحو نظام للتعايش بين الإنسان والروبوت - Centre for Arab Unity Studies
في هذا المقال، سنناقش كيف يمكن للبشر والروبوتات التعايش في نظام متكامل. سنستعرض التحديات والحلول المحتملة التي تضعها شركات مثل جوجل وأمازون. كما سنلقي نظرة على التوقعات المستقبلية وفقًا لتقرير ماكنزي

إطلاق ناسا لمهمة مأهولة إلى القمر: خطوة تاريخية نحو استكشاف الفضاء
تعتبر المهمة الجديدة خطوة هامة نحو استكشاف الفضاء وتطوير التكنولوجيا. سوف تشمل المهمة إرسال رواد فضاء إلى سطح القمر لconducting تجارب علمية. ستسهم هذه المهمة في تطوير فهمنا للفضاء وتحسين التكنولوجيا المستخدمة في استكشاف الفضاء.